
Lawn
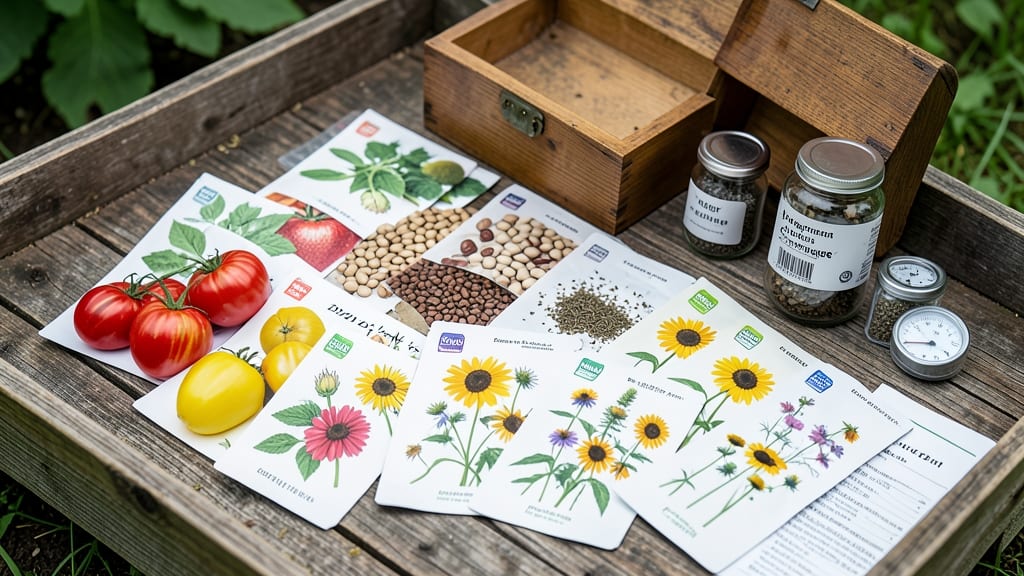
Building garden seed banks isn’t just possible—it’s the secret to growing heirlooms and rare varieties no matter what happens next season. 🌱 I’ve saved seeds from my garden for over a decade, and the right storage method keeps them viable through droughts, supply chain issues, or just a craving for that one perfect tomato.
The key? Understanding how to dry, package, and chill seeds properly so they wake up ready to grow when you need them.
Your seed bank starts with clean, fully mature seeds—nothing dried on the vine or still damp. I use simple paper envelopes (not plastic) to prevent moisture buildup, then store them in airtight containers with silica gel packets to absorb any lingering humidity.
The real magic happens in the freezer: temperatures below 0°F can extend seed life for 20+ years, though most gardeners see great results with just a cool, dark pantry.
For seeds that need cold stratification (like poppies or peonies), a quick 6-8 week stint in the fridge mimics winter conditions and boosts germination rates.
What you end up with is a living library of seeds that stay fresh through emergencies, budget crunches, or just the joy of growing something special. My heirloom beans still sprout after eight years, and the cost savings add up fast—no more paying premium prices for limited varieties.
Plus, you’re preserving biodiversity one seed at a time, which matters more than ever in today’s gardening world.
This works for any climate or garden size—whether you’re a city dweller with a windowsill setup or a rural homesteader with a root cellar. The only real mistake? Waiting until you need those seeds to start storing them. Let’s get your seed bank organized before next harvest!
📚 In This Guide
- What you need
- Instructions
- Tips and common mistakes
- Wrapping up and next steps
What you need
- ● Seed packets or collected seeds: Choose heirloom or open-pollinated varieties (avoid hybrids). Aim for 50–100 seeds per species for redundancy.
- ● Air-tight storage containers: Mason jars (quart or pint size, 2–4 jars depending on seed volume)
- ● Ziploc bags with oxygen absorbers (1–2 per bag)
- ● Plastic or glass seed vaults (for bulk storage)
- ● Desiccant packets: 1–2 per container to absorb moisture.
- ● Permanent markers or labels: Waterproof, for seed names, dates, and stratification details.
- ● Cold stratification setup: Refrigerator (34–40°F) or cold frame
- ● Paper towels or dampened vermiculite (moist, not soggy)
- ● Plastic wrap (to seal moisture in)
- ● Seed catalog or database (e.g., Seed Savers Exchange) for variety details.
- ● Humidity packs or silica gel for ultra-dry storage.
- ● Digital scale (for precise moisture testing of seeds).
- ● UV-protective containers (if storing seeds long-term in sunlight).
- ● Notebook or spreadsheet to track seed viability and germination tests.
How to preserve garden seeds long-term with cold stratification
Cold stratification mimics nature’s winter cycle—here’s how to store seeds so they stay viable year after year.
🌱 Step 1: Collect and Dry Seeds Properly
Harvest seeds when they’re fully mature but still dry on the plant. For most vegetables and flowers, this means waiting until pods split open or seeds turn hard and dry inside. I like to lay a piece of newspaper under the plant and give it a gentle shake—seeds that fall naturally are ready for storage.
Spread seeds in a single layer on a paper towel or mesh screen in a warm, dry place with good airflow. Avoid plastic bags—they trap moisture and encourage mold. Check daily and stir them with a spoon to ensure even drying. Seeds are ready when they’re completely dry to the touch and feel light in your hand.
Label each batch immediately with the plant name and harvest date. Trust me, you’ll forget which seeds are which after six months. I use small paper envelopes or glass jars with masking tape labels—both work well for organization.
💧 Step 2: Store Seeds in Cool, Dark Conditions
Most garden seeds thrive in short-term storage at room temperature (60-70°F) for up to a year. For longer preservation, move them to a refrigerator (35-40°F) or freezer (-4°F). I keep mine in sealed glass jars with silica gel packets to absorb any lingering moisture.
Don’t overpack the jars—seeds need space to breathe. Fill containers no more than halfway to prevent crushing. If you’re storing seeds for more than two years, consider vacuum-sealed bags for extra protection against pests and humidity.
Check stored seeds every 6 months for signs of mold or pests. If you notice any discoloration or musty smells, discard the batch immediately—compromised seeds won’t germinate properly.
⏰ Step 3: Cold Stratify Seeds for Better Germination
Some seeds, like poppies, delphiniums, and many native wildflowers, need a cold period (4-8 weeks at 35-40°F) to break dormancy. Mix seeds with a moistened but not soggy growing medium—sand, peat moss, or even a paper towel works. Place the mixture in a sealed plastic bag with a few air holes.
Store the bag in your refrigerator’s crisp drawer (the one designed for veggies). Check weekly—if the medium dries out, mist it lightly. After the cold period, plant the seeds directly in the garden or start them indoors under grow lights. You’ll see faster, more uniform germination than with untreated seeds.
Real talk: Not all seeds need stratification. Check seed packets or a reliable gardening database first—some, like tomatoes and peppers, germinate just fine without this extra step.
☀️ Step 4: Test Seed Viability Before Planting
Older seeds may lose viability over time. To test, place 10 seeds between two damp paper towels in a sealed plastic bag. Keep them in a warm spot (70-75°F) and check daily. If 50% or more sprout within 7-10 days, the batch is still good to plant. If fewer than half germinate, consider saving only the strongest seedlings or sourcing fresh seeds.
I like to test seeds in January so I know what’s viable for spring planting. This simple step saves money and prevents disappointment when your garden doesn’t come to life as expected.
If your seeds fail the viability test, don’t toss them out immediately. Some seeds, like beans and peas, can still be planted—just expect lower germination rates. Others, like lettuce, may not recover at all.
Tips & tricks for perfect seed preservation
These simple strategies will help you extend seed viability and ensure your garden thrives year after year.
Drying Strategy: When drying seeds in Step 1, place a small fan nearby to create gentle airflow. This speeds up drying time while preventing moisture buildup that can lead to mold. I've found that seeds dry completely in about 3-5 days with this method, rather than the 7-10 days it might take without airflow. The key is maintaining that single layer arrangement while keeping them moving.
Storage Organization: For long-term storage in Step 2, consider using small glass vials instead of jars. These allow you to see the seeds at a glance and make it easier to portion out small quantities for planting. I store mine in a dedicated seed drawer in my refrigerator, with each type clearly labeled on the vial cap. This system keeps everything visible and accessible while maintaining the ideal 35-40°F temperature.
Cold Stratification Hack: During the 4-8 week cold stratification in Step 3, place a small humidity indicator card in your sealed bag. These cards change color when moisture levels become too high, giving you an early warning before mold can develop. I've used these with great success—they're especially helpful when checking weekly, as they provide objective data beyond just visual inspection.
Viability Testing: When conducting the viability test in Step 4, use a clear plastic bag instead of opaque ones. This lets you monitor seed progress without opening the bag, preventing moisture loss. I've noticed that seeds in clear bags maintain better humidity levels during the 7-10 day test period, which often results in more consistent germination results.
Pro Tips for Garden Seed Banks
- These simple strategies will help you extend seed viability and ensure your garden thrives year after year.
- Drying Strategy: When drying seeds in Step 1, place a small fan nearby to create gentle airflow. This speeds up dryin...
- Storage Organization: For long-term storage in Step 2, consider using small glass vials instead of jars. These allow ...
Frequently asked questions
Got questions about preserving your garden seeds long-term? Here are answers to the most common concerns—plus practical tips to keep your seed stash thriving!
What’s the best way to store seeds long-term without a seed bank?
If you don’t have a dedicated seed bank, use airtight containers (like glass jars or Mylar bags) with desiccant packets to absorb moisture. Store them in a cool, dark place (like a fridge or root cellar) at 32–41°F (0–5°C). Label everything with the seed type and date!
How long can I realistically store seeds before they lose viability?
Most vegetable seeds stay viable for 1–5 years, while herbs and flowers last 1–3 years. Cold stratification (mimicking winter) can extend shelf life for perennials and wildflower seeds. Check seed packets for “germination rate” guidelines—if it drops below 80%, it’s time to refresh!
Do I need to stratify seeds before storing them in a seed bank?
No—stratification is for germination, not storage! Store seeds dry and dormant first, then stratify them later when ready to plant. For cold stratification, mix seeds with moist peat moss, seal in a bag, and refrigerate for 4–12 weeks (check seed-specific needs).
What should I do if my stored seeds won’t germinate?
First, test viability with the “paper towel method”: Moisten a towel, wrap seeds, and check for sprouts in 3–7 days. If failed, try scarification (nick the seed coat) or soaking in warm water for 24 hours. If still no luck, source fresh seeds—but save a few for “backup” experiments!
Can I use kitchen scraps (like tomato seeds) in a seed bank?
Clean and dry seeds thoroughly (let them air-dry for 1–2 weeks), then store them like any other seed. Heirloom varieties (like tomatoes) are great for seed banks—just avoid hybrid seeds (they won’t grow true). Label scraps with the “parent plant” name for accuracy!
Pro Tip: Rotate your seed bank!
Use the “FIFO” (First In, First Out) rule: Plant older seeds first to avoid waste. Every 6 months, check for pests (like weevils) or mold—discard contaminated seeds immediately.
Wrapping up and next steps
Garden seed banks are a fantastic way to preserve your favorite varieties and ensure a steady supply of fresh, viable seeds year-round. By mastering cold stratification, you unlock the potential to break dormancy and boost germination rates—even for tricky seeds!
Whether you're a seasoned gardener or just starting out, this method is your secret weapon for a thriving garden.
Ready to take the next step? Start small—pick one or two seed varieties to test this season, document your results, and share your success with fellow green thumbs. Your future garden (and future generations of plants!) will thank you. 🌱