
Propagation
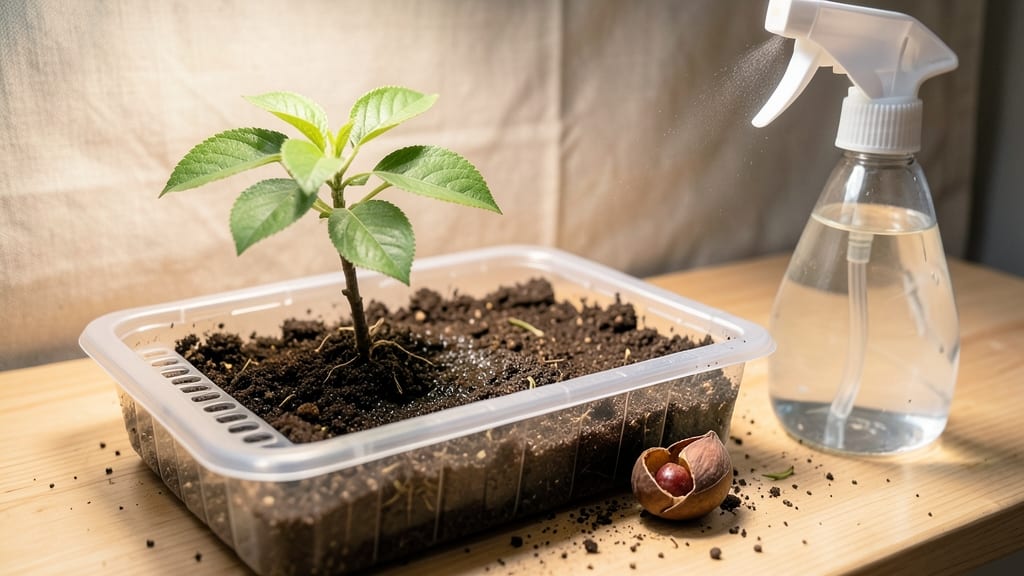
Germinating cherry seeds takes patience—but this soak-and-chill method cuts weeks off the wait for the germination of cherry seeds. 🌱 The key is mimicking nature’s slow release of dormancy, and I’ve perfected it after years of trial and error with sweet and tart varieties.
Instead of waiting months for unpredictable sprouting, you’ll see roots emerge in 4-6 weeks with the right preparation.
First, you’ll need a few simple supplies: a jar for soaking, sandpaper or a knife for scarification, a plastic bag for stratification, and a warm spot for root growth.
The process starts with breaking the seed’s hard shell—whether by sanding or a quick nick—and then chilling them in a damp environment to simulate winter. This isn’t rocket science, but skipping steps means slower, weaker seedlings.
Once the seeds sprout, you’ll transplant them into a light, airy soil mix and keep them in bright, indirect light. The first true leaves appear in 3-4 weeks, signaling it’s time to move them into individual pots.
With consistent moisture and patience, you’ll have sturdy young trees ready for outdoor planting in 6-8 months—though they’ll need another year or two before fruiting.
This method works for both sweet and tart cherries, though sour varieties germinate slightly faster. The biggest challenge is keeping the soil moist without drowning the tiny roots, but a humidity dome or plastic wrap helps.
If you’ve ever struggled with slow germination, this approach delivers reliable, faster results—no guesswork involved.
📚 In This Guide
- What you need
- Instructions
- Tips and common mistakes
- Wrapping up and next steps
What you need
- ● Cherry pits (seeds): 3–5 fresh, plump pits (from sweet or sour cherries—avoid hybrid varieties like Bing).
- ● Water: 1 cup of room-temperature, filtered water (chlorine-free if possible).
- ● Plastic bag or airtight container: A ziplock bag (quart-sized) or small Tupperware with a lid.
- ● Refrigerator: A standard fridge with a temperature range of 35–40°F (2–4°C) (critical for stratification!).
- ● Paper towels or damp cloth: 2–3 sheets of paper towels or a clean kitchen towel.
- ● Small pot or seed tray: 4–6 inch diameter (with drainage holes) for transplanting sprouted seeds.
- ● Potting mix: 1 bag of well-draining, seed-starting mix (sterilized and peat-free if possible).
- ○ Spray bottle: For gentle watering (optional but helpful for moisture control).
- ● Toothpick or skewer: To gently separate pits from fruit pulp (if needed).
- ● Label & marker: To track germination dates (e.g., “Cherry Pit #1 – Planted 5/15/24”).
- ○ Heating mat (optional): For faster germination after stratification (set to 70–75°F (21–24°C)).
- ● Grow lights: LED or fluorescent lights for seedlings (12–16 hours/day) if natural light is weak.
- ● Humidity dome: Clear plastic wrap or a mini greenhouse to retain moisture during early growth.
- ● Fertilizer: Balanced, water-soluble fertilizer (e.g., 10-10-10) for transplanting (use half-strength at first!).
Step-by-step instructions for cherry seed germination
Here's my proven soak-and-chill method to break dormancy and get those stubborn cherry seeds sprouting in record time.
🌱 Step 1: Select and Prepare the Seeds
Choose fresh, plump cherry pits—the larger the better, as they contain more stored energy for germination. Remove any seeds that feel hollow when tapped or show signs of mold. I like to soak them in a bowl of lukewarm water for 12-24 hours first to soften the hard outer shell and kickstart hydration.
After soaking, gently rub the seeds between two pieces of sandpaper or a clean towel to scratch the outer coat lightly. This mimics natural wear from passing through an animal's digestive tract and helps water penetrate. Don't over-scrub—just enough to create tiny abrasions. Rinse them thoroughly to remove any sandpaper residue.
💧 Step 2: Stratify for Dormancy Break
Cherry seeds require cold stratification to simulate winter conditions and break their natural dormancy. Place the prepared seeds in a sealed plastic bag with a damp paper towel—just enough moisture to keep it damp but not soggy. I like to use a 1:1 ratio of seeds to paper towel to prevent mold.
Store the bag in your refrigerator's crispier drawer (around 35-40°F) for 4-6 weeks. Check periodically to ensure the towel stays moist but not dripping. You'll know stratification is working when the seeds begin to sprout tiny white roots—this is your signal they're ready for warmth.
☀️ Step 3: Plant in Germination Medium
Fill small pots (about 2-3 inches deep) with a sterile seed-starting mix, leaving ½ inch of space at the top. Plant the stratified seeds ½ inch deep, spacing them 1 inch apart to prevent overcrowding. I use a toothpick to create small holes for precision planting—this keeps seeds at the perfect depth without disturbing the mix.
Water gently until the soil is evenly moist but not saturated. Place the pots in a warm location (70-75°F), like on top of your refrigerator or near a sunny window. Cover the pots loosely with plastic wrap to retain humidity, but remove it daily for 10 minutes to prevent fungal growth. Germination typically occurs in 2-4 weeks.
🌿 Step 4: Transplant and Nurture Seedlings
Once seedlings develop 2-3 true leaves and reach about 3-4 inches tall, it's time to transplant them into individual 4-inch pots with fresh potting mix. Handle the seedlings carefully by their leaves, never the stems, to avoid damage. I like to harden them off for 3-5 days before moving them outdoors by placing them in a shaded, sheltered spot for a few hours daily.
Cherry seedlings grow slowly at first, so be patient. Keep the soil consistently moist but never waterlogged—you'll know it's right when the top inch feels slightly dry to the touch. After 6-8 weeks, when they've developed a sturdy root system, you can transplant them into the garden or larger containers. Choose a location with full sun (6+ hours daily) and well-draining soil for the best growth.
Tips & tricks for faster cherry seed germination
Here's what I've learned after working with stubborn cherry seeds—these tricks will help you bypass common pitfalls and get those little sprouts popping in no time.
The Soak-and-Chill Timing: The 12-24 hour soak is your first critical step, but don't rush it. I've found that larger cherry pits (about ¾ inch long) need the full 24 hours to fully hydrate their hard outer shell. For smaller pits, 12 hours works perfectly. After soaking, test readiness by gently pressing a seed—if it gives slightly but doesn't crush, it's ready for the next step. This simple pressure test saves you from over-soaking, which can lead to mold.
Stratification Success: When you're setting up the cold stratification in Step 2, place your sealed bag of seeds on a paper towel in the refrigerator drawer rather than directly on the shelf. This creates better air circulation and prevents condensation buildup, which could lead to mold. I like to label the bag with the date—after 4-6 weeks, if you don't see those tiny white roots emerging, extend it another week. The roots are your green light to move to warmth!
Germination Environment: For Step 3, I've had the most success using clear plastic containers with lids instead of pots. This lets you monitor moisture levels and root development without disturbing the seeds. Keep the containers in a warm spot (70-75°F) with indirect light—direct sunlight can overheat the soil and inhibit germination. A simple heat mat set to 75°F works wonders if your home stays cooler. The key is maintaining that consistent warmth while keeping the soil just moist enough to touch.
Transplanting Strategy: When your seedlings reach the 2-3 true leaves stage in Step 4, transplant them into individual pots using the "slip and slide" method. Gently slide a butter knife along the edge of the seed-starting mix to release the root ball intact. This minimizes root disturbance and gives your seedlings a smoother transition. After transplanting, place a small pebble or two in each pot—this prevents the soil from compacting around the roots as you water.
Pro Tips for Cherry Seed Germination
- Here's what I've learned after working with stubborn cherry seeds—these tricks will help you bypass common pitfalls a...
- The Soak-and-Chill Timing: The 12-24 hour soak is your first critical step, but don't rush it. I've found that larger...
- Stratification Success: When you're setting up the cold stratification in Step 2, place your sealed bag of seeds on a...
Frequently asked questions
Got questions about germinating cherry seeds?
Here are answers to the most common ones—so you can grow your own cherry tree with confidence!
How long does it take for cherry seeds to germinate?
With the soak-and-chill method, germination typically takes 4–12 weeks. Sweet cherries (like Prunus avium) often sprout faster (4–6 weeks), while tart cherries (like Prunus cerasus) may take longer. Patience is key—keep seeds moist and warm (60–70°F) to speed things up!
Why do I need to chill cherry seeds before planting?
Cherry seeds require stratification (a cold period) to break dormancy. The chilling mimics winter conditions, tricking the seed into thinking it’s time to grow. Skip this step, and your seeds might never sprout—so don’t rush it!
Can I grow a cherry tree from any seed, or do I need a specific type?
Technically, yes—but results vary! Store-bought cherry seeds (from fruit) may not produce true-to-type trees (e.g., a Bing seed could grow a wild, unpredictable tree). For reliable results, buy seeds from a certified nursery or graft a known variety onto a seedling rootstock.
My seeds are moldy or rotting—what went wrong?
Mold or rot usually means too much moisture or poor airflow. Drain excess water, use sterile potting mix, and avoid overcrowding seeds. If mold appears, discard the affected seeds and replant the healthy ones in fresh, dry medium.
How tall will a cherry tree grown from seed get?
Seed-grown cherry trees can reach 20–30 feet tall (or taller!) but may take 5–10 years to bear fruit. For faster, smaller trees, consider grafting a cultivated variety onto a dwarf rootstock. Plus, seed-grown trees might not fruit as reliably as grafted ones!
Can I reuse leftover cherry pits for germination?
Yes! Store dry pits in a paper towel inside a sealed bag in the fridge for up to 6 months before stratifying. Just avoid plastic (it traps moisture and causes rot). Label them by variety if possible!
Wrapping up and next steps
Germinating cherry seeds with the soak-and-chill method is a rewarding way to kickstart your fruit tree journey!
By following these simple steps—stratifying, soaking, and planting—you’ll unlock the potential for faster, healthier sprouts. Don’t let patience hold you back: with consistency and care, your tiny seeds can grow into thriving trees. 🌱
Now that you’re armed with the know-how, why not take the next step? Grab those seeds, set up your germination station, and watch life unfold before your eyes. Every gardener starts somewhere—your cherry tree adventure begins today! 🌿