
Lawn
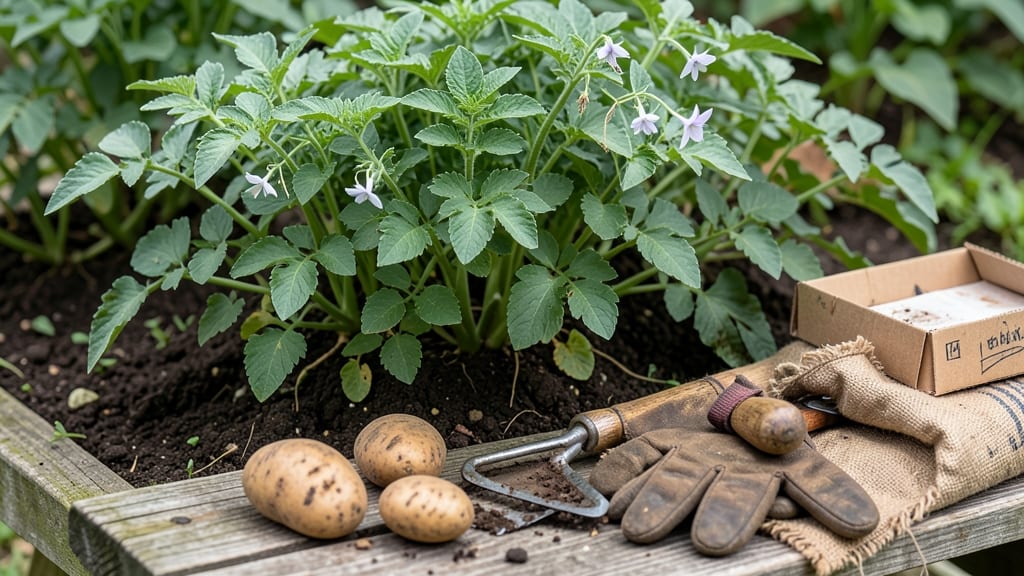
Cutting seed potatoes gives you twice the harvest from the same planting space—but only if you do it right. 🌱 I’ve turned this intimidating task into a routine that takes less than an hour and guarantees strong, healthy sprouts every time.
The secret isn’t fancy tools or complicated techniques; it’s proper cuts, healing time, and knowing when to plant.
You’ll need just three basic tools: a sharp knife, a cutting board, and a well-ventilated spot to let them heal. Cut each potato into chunks with at least one or two eyes (those little dimples where sprouts emerge), and leave the pieces to dry for 24-48 hours.
This healing step prevents rot and gives you sturdy plants ready for the ground.
By the time you’re ready to plant, your cut potatoes will have 1-2 inch sprouts—a clear sign they’re ready to grow. These chitted potatoes establish faster, resist disease better, and produce heavier yields than uncut seed potatoes.
The process works for both small gardens and large-scale planting, with adjustments for organic methods or bulk operations.
Common mistakes like cutting too close to the eyes or skipping the healing step can ruin your harvest. But once you master the basics, you’ll never go back to buying seed potatoes again. Let’s get those knives sharp and those sprouts growing!
📚 In This Guide
- What you need
- Instructions
- Tips and common mistakes
- Wrapping up and next steps
What you need
- ● Seed potatoes: Choose certified disease-free, organic seed potatoes (avoid grocery-store potatoes—they’re treated to prevent sprouting!). Aim for 1-2 lbs (450-900g) per 10 sq ft of garden space.
- ● Sharp knife or seed potato cutter: A clean, sterilized knife (or a dedicated potato cutter) ensures clean cuts and minimizes disease risk. Avoid dull tools—they crush the potato!
- ● Hydrogen peroxide (3%) or rubbing alcohol: For sterilizing tools and cuts. A small spray bottle or cotton swab works great.
- ● Chitting tray or egg cartons: A shallow tray with drainage holes (or repurposed egg cartons) to hold the cut potatoes. Ensure it’s at least 3 inches deep.
- ● Potting mix or peat moss: A lightweight, well-draining medium to cover the cut sides (about 1-2 inches of mix per tray).
- ● Spray bottle with water: For keeping the mix moist (but not soggy!).
- ● Grow lights or sunny windowsill: If your space lacks natural light, a grow light (or a south-facing window) speeds up chitting.
- ● Potato chitting clips: Plastic clips to secure cut potatoes to the tray and prevent them from rolling.
- ● Labeling tags: To mark varieties (especially useful if growing multiple types!).
- ● Fungicide (e.g., copper-based): A light spray on cuts can prevent rot in humid climates.
Step-by-step instructions for cutting seed potatoes
Here's how I prep seed potatoes for chitting—no guesswork, just strong, healthy sprouts ready for planting.
🪴 Step 1: Choose and Prepare Your Seed Potatoes
Start with certified disease-free seed potatoes—organic or untreated is best. Look for medium-sized tubers (about the size of a golf ball) with at least one or two visible "eyes" (those little dimples where sprouts emerge). Avoid potatoes with green spots or soft areas, as these won’t grow well.
Place your seed potatoes in a cool, dark spot for 2-3 weeks before cutting. This jump-starts their growth, giving you a head start on sprouts. I keep mine in a cardboard box with a little bit of peat moss to keep them from drying out.
✂️ Step 2: Cut the Potatoes Carefully
Use a clean, sharp knife to cut each potato into pieces, ensuring each piece has at least 2-3 eyes. I like to make my cuts about ½ inch below the eyes—this gives the sprouts room to grow without overcrowding. Dip the cut sides in powdered cinnamon (not sugar!) to prevent rot and speed up healing.
Let the cut potatoes sit in a warm, dry place for 24 hours before planting. This lets the cuts form a protective callus, reducing the risk of disease. Don’t skip this step—it’s what keeps your sprouts from turning mushy later.
🌱 Step 3: Chit in a Bright, Cool Spot
Once the cuts have healed, place the potatoes in a shallow tray or egg carton with the cut side up. I use a south-facing windowsill where they get bright, indirect light—no direct sun yet. The goal is to encourage the sprouts (called "chits") to grow 1-2 inches long before planting.
Check them every 3-4 days and mist lightly with water if the cut sides look dry. You’ll know they’re ready when the chits are sturdy and about pencil-thick. This usually takes 3-4 weeks, depending on your home’s warmth.
☀️ Step 4: Plant When Sprouts Are Ready
When your chits reach 1-2 inches, it’s time to plant. Dig holes 4-6 inches deep and space them 12 inches apart in rows 3 feet apart. Place the potatoes cut-side up so the sprouts face the sky—this prevents them from growing crooked.
Cover lightly with soil, leaving the top ½ inch of the sprout exposed. Water gently but don’t soak the soil—you want it moist but not soggy. After a week, if the sprouts haven’t broken through on their own, give them a little help by brushing soil away from the top.
💧 Step 5: Maintain Through Early Growth
Keep the soil consistently moist but never waterlogged—potatoes rot faster than they grow. Once the plants reach 6 inches tall, add a 2-inch layer of straw mulch to retain moisture and keep weeds down. I also fertilize lightly with balanced 10-10-10 when the first flowers appear.
Watch for blossoms—this is your signal to stop watering if you’re growing for storage potatoes. Too much water now makes skins tough. If you’re growing for new potatoes, keep the soil moist and harvest small tubers when they’re golf-ball sized after 2-3 months.
Tips & tricks for perfect seed potato chitting
Here's what nobody tells you about growing strong, healthy sprouts without the guesswork.
Selection Tip: The quality of your seed potatoes makes all the difference. Look for firm, medium-sized tubers with multiple eyes—these will give you the most vigorous sprouts. I've learned the hard way that potatoes with green spots (from exposure to light) contain solanine, a natural toxin that can stunt growth or even kill your plants. Cut these out immediately if you spot them.
The 24-Hour Healing Secret: That 24-hour drying period after cutting is non-negotiable for preventing rot. I used to skip it, thinking it was an unnecessary step, but my sprouts would always turn mushy later. The callus that forms during this time acts like a natural bandage, sealing the cut and protecting against fungal infections. Place your cut potatoes on a wire rack in a warm, dry spot to maximize airflow.
Lighting Strategy: Bright, indirect light is key during the chitting phase. I place my trays on a south-facing windowsill where they get morning sun but are shaded from harsh afternoon rays. Too much direct sunlight can cause the sprouts to grow leggy and weak. If you don't have a sunny window, a grow light on a timer (12-14 hours per day) works beautifully. The goal is sturdy, pencil-thick chits that will translate to robust plants in your garden.
Planting Depth Matters: When it comes time to plant, bury your potatoes just deep enough so the top half-inch of sprout remains exposed. This might seem counterintuitive, but it prevents the sprout from growing crooked as it pushes through the soil. I've seen gardeners bury them too deeply only to find their plants growing at odd angles later. A simple trick: use a ruler to measure your planting depth—consistency is everything in gardening!
Pro Tips for Cutting Seed Potatoes
- Here's what nobody tells you about growing strong, healthy sprouts without the guesswork.
- Selection Tip: The quality of your seed potatoes makes all the difference. Look for firm, medium-sized tubers with mu...
- The 24-Hour Healing Secret: That 24-hour drying period after cutting is non-negotiable for preventing rot. I used to ...
Frequently asked questions
Got questions about cutting seed potatoes? You’re not alone! Here are some of the most common concerns—and their simple solutions—to help you chit like a pro.
Why should I cut my seed potatoes instead of planting them whole?
Cutting seed potatoes lets you grow more plants from a single tuber! Each "eye" (the tiny buds) can sprout into a new potato plant. This maximizes yield without buying extra seeds—perfect for gardeners with limited space or budget. Just ensure each piece has at least 2-3 eyes for best results.
How long does it take for cut seed potatoes to sprout before planting?
Chitting (pre-sprouting) takes 3-6 weeks indoors, depending on light and warmth. Place them in a bright spot (like a sunny windowsill) and watch for green sprouts 1–2 inches long. Once sprouts are ½-inch tall, they’re ready to plant outdoors after the last frost (usually late spring).
What if my cut potatoes rot or go moldy before sprouting?
This happens when cuts aren’t fully healed or humidity is too high. To prevent it:
- Let cuts dry for 1–2 days in a warm, dry place before chitting.
- Avoid overcrowding in containers—space them out.
- Use well-draining soil (or a mix of peat and perlite) if planting early.
Can I plant store-bought potatoes as seed potatoes?
Yes, but only organic or seed-certified potatoes from a garden center. Avoid conventional grocery-store potatoes—they’re treated to prevent sprouting and may carry diseases. If you must use store-bought, chit them first to ensure viability, but yield might be lower.
What’s the best way to store cut seed potatoes until planting?
Keep them in a cool, dark, and humid spot (like a paper bag in the fridge) until ready to chit. Once you start sprouting, move them to a bright, warm area (60–70°F). Avoid direct sunlight or temperature swings, which can stress the sprouts. A seed tray with damp paper towels works great!
Wrapping up and next steps
Cutting seed potatoes is a game-changer for gardeners—it boosts yield, saves money, and ensures healthier plants! By mastering chitting and proper handling, you’re setting your garden up for success. Whether you’re a beginner or a seasoned pro, these steps make the process simple and stress-free.
Ready to grow? Start chitting your potatoes now and watch those vigorous sprouts take over! Once your cuttings are ready, plant them in well-draining soil and give them the love they deserve. Happy gardening—your future harvest is waiting! 🌱