
Lawn
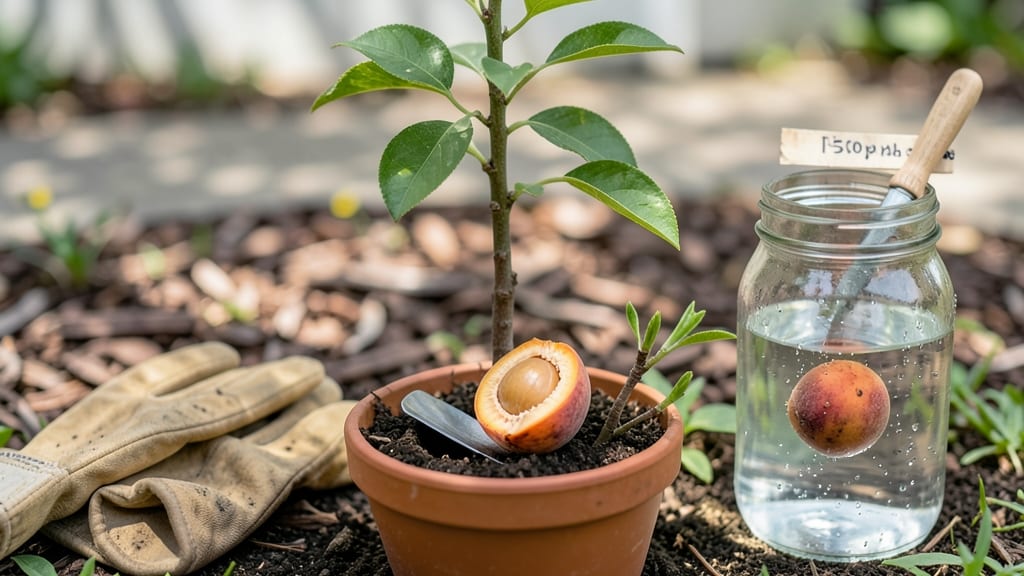
Planting a peach pit feels like holding a tiny promise of summer fruit in your hands. 🌱 The secret to breaking that seed's dormancy lies in cold stratification—a process that mimics nature's timing, ensuring reliable germination when spring arrives.
I've learned that skipping this step means waiting years, if ever, for a tree that might never fruit. You'll need just three things: fresh pits, a damp paper towel, and your fridge's crisper drawer.
The process takes about 90 days, but patience pays off with a tree that could bear fruit in 5-7 years—not the instant gratification of nursery plants, but the deep satisfaction of growing something from scratch. The first green shoot feels like magic after months of waiting.
Once stratified, plant the pit 1 inch deep in well-draining soil where it gets full sun. Keep the soil consistently moist (not soggy) and protect it from late frosts.
The real test comes when true leaves appear—proof the seed survived its long winter nap and is ready to grow into a tree. This method works for any stone fruit pit—plums, cherries, even apricots—though peaches are the most reliable.
The key is consistency: don't rush the stratification, and don't let the soil dry out. With these steps, you're not just planting a seed; you're starting a legacy that could shade your grandchildren's yard someday.
📚 In This Guide
- What you need
- Instructions
- Tips and common mistakes
- Wrapping up and next steps
What you need
- ● Peach pit: 1-2 fresh, fully ripe peach pits (avoid cracked or moldy ones).
- ● Paper towels or coffee filters: 2-3 sheets (for moisture control).
- ● Plastic bag or airtight container: 1 (ziplock bags work great!).
- ● Water: Small amount (just enough to dampen the towels).
- ● Refrigerator: A standard fridge with a crisper drawer (for cold stratification).
- ● Potting soil: 1 small pot (4-6 inches deep) for transplanting after stratification.
- ● Spray bottle: For gentle watering post-germination.
- ● Grow lights or sunny windowsill: Bright indirect light for seedlings.
- ● Label or marker: To track planting dates (trust us, it helps!).
Step-by-step instructions for cold stratifying peach pits
Here's how to break dormancy and coax those peach pits into growing strong saplings.
🌱 Step 1: Extract and Prepare the Seeds
Cut open the peach pit with a clean knife, avoiding the hard shell. Inside, you'll find 1-2 seeds nestled in a papery coating. Remove them carefully and rinse off any remaining fruit flesh—this prevents mold during stratification. Let them air-dry completely for 24 hours on a paper towel.
I like to place them in a small envelope with the pit variety written on it. This ensures I don’t mix up seeds later. The drying step is critical—wet seeds rot during cold treatment. You’ll know they’re ready when the outer coating feels slightly rough to the touch.
❄️ Step 2: Cold Stratify for 60-90 Days
Fill a resealable plastic bag with dampened peat moss or coconut coir (just enough moisture to feel damp, not soggy). Place the dried peach pits inside, spacing them 1 inch apart to prevent mold. Seal the bag and store it in your refrigerator’s crisper drawer, where temperatures stay between 35-40°F.
Check the bag every 2 weeks—if you see condensation on the inside, open it slightly to let moisture escape. This mimics winter’s natural chilling period, breaking the seed’s dormancy. After 60-90 days, the pits should feel slightly softer when gently squeezed.
🌱 Step 3: Plant Stratified Seeds in Pots
Fill small 4-inch pots with well-draining potting mix. Plant each peach pit ½ inch deep, covering it lightly with soil. Water gently until the surface feels moist but not wet. Place the pots in a warm, sunny spot—peach seeds need 70-75°F soil temperatures to germinate.
I cover the pots with clear plastic wrap to retain humidity, but remove it once the first sprouts appear. Germination can take 2-6 weeks, depending on the pit’s age. Older pits may take longer, so patience is key. Keep the soil consistently moist but never waterlogged—peach seedlings hate soggy roots.
☀️ Step 4: Transplant Saplings After True Leaves Form
Once the seedlings develop 2-3 sets of true leaves (not just the first cotyledons), they’re ready to move. Choose a 6-inch pot or a sunny outdoor spot with well-draining soil. Transplant carefully, keeping the root ball intact. Water deeply after planting to help roots establish.
Peach trees need full sun (6+ hours daily), so place them in the brightest spot available. If growing indoors, supplement with a grow light for 12-14 hours/day. You’ll see new growth within 2-3 weeks—this is your signal that the tree is thriving.
⏰ Step 5: Overwinter Young Trees for Next Season
After the first growing season, let the sapling rest in a cool, dark place (like a garage) for 2-3 months to mimic winter dormancy. Reduce watering to once every 2-3 weeks and keep soil slightly moist. This prepares the tree for its second year of growth.
In spring, repot into a 1-gallon container if growing indoors or transplant outdoors after the last frost. Peach trees need time to mature—don’t expect fruit for 5-7 years. But with this method, you’ll have a sturdy, blooming tree ready for next season’s harvest.
Tips & tricks for perfect peach pit stratification
Real talk: Cold stratification might sound intimidating, but these small details make all the difference between a thriving sapling and wasted effort.
Seed Extraction: When you crack open those peach pits, don't rush the drying process—those 24 hours are non-negotiable. I learned this the hard way after having seeds mold during stratification. Place them on a paper towel in a single layer, and check periodically to ensure no moisture remains. If you're impatient, you can speed up drying by placing them in a warm, dry spot (like a sunny windowsill) for the first 12 hours, then finish at room temperature.
Moisture Balance: The dampened peat moss or coconut coir should feel like a wrung-out sponge—not dripping, but not bone-dry either. Too much moisture causes mold, while too little prevents proper hydration. I like to squeeze a handful to test: if water drips out, it's too wet; if it crumbles when squeezed, add a few drops of water. This balance is critical during the 60-90 day cold treatment.
Visual Cues for Success: After the 60-90 days of cold stratification, your pits should show subtle signs of life. Look for a slightly softer feel when squeezed gently (they'll give just a little), and you might even see tiny cracks forming. These are good indicators that dormancy is breaking. If you don't see these signs, extend the cold treatment by 10-15 days—patience pays off here.
Germination Environment: While planting, pay special attention to that 70-75°F soil temperature requirement. If your home runs cooler, consider using a seedling heat mat ($10 at garden centers) to maintain consistent warmth. I've also found that placing pots on a sunny windowsill during the day and moving them to a warmer spot at night helps maintain the ideal temperature range for those critical first weeks of germination.
Pro Tips for Peach Pit Seed Planting
- Real talk: Cold stratification might sound intimidating, but these small details make all the difference between a th...
- Seed Extraction: When you crack open those peach pits, don't rush the drying process—those 24 hours are non-negotiabl...
- Moisture Balance: The dampened peat moss or coconut coir should feel like a wrung-out sponge—not dripping, but not bo...
Frequently asked questions
Got questions about growing peach trees from pits? You’re not alone—this process takes patience and precision! Below, we tackle the most common concerns to help you succeed with your peach pit seed planting adventure.
Do I need to cold stratify a peach pit before planting?
Yes!
Cold stratification mimics winter conditions, breaking the seed’s dormancy. Without it, your pit may never sprout. Place the cleaned, dried pit in a damp paper towel, seal it in a plastic bag, and refrigerate for 6–12 weeks (or until you see a tiny root emerge).
How long does it take for a peach pit to germinate?
Germination can take 2–6 months after cold stratification, depending on warmth and moisture. Once planted in soil, expect a sprout in 4–8 weeks if conditions are ideal. Patience is key—some pits surprise you with rapid growth!
Can I plant a peach pit directly in the ground without cold treating it?
While possible, success rates drop dramatically. Direct planting may leave your pit dormant for years or never sprout. If you’re impatient, try soaking the pit in warm water for 24 hours before planting, but cold stratification remains the gold standard.
Will my homegrown peach tree produce fruit like the parent?
Probably not! Peach trees grown from pits are unpredictable—they may take 5–7 years to fruit (if they do at all) and likely won’t match the parent’s flavor or quality. For reliable fruit, grafted trees are the way to go.
What do I do if my peach pit moldy or rots during stratification?
Toss it! Mold or rot means the pit is compromised. To prevent this, keep the paper towel damp (not soggy) and check weekly for signs of spoilage. If you’re reusing a bag, sterilize it with a 10% bleach solution before reuse.
Wrapping up and next steps
Planting peach pits is a rewarding way to grow your own fruit tree—and with cold stratification, you’re setting the stage for successful blooms next season. 🌱 Whether you’re a seasoned gardener or a curious beginner, this method turns a simple kitchen scrap into a thriving sapling.
Now that you’re equipped with the know-how, why not take the next step?
- Start small: Try stratifying a few pits this fall to see how they sprout.
- Expand your garden: Once you’ve mastered the technique, experiment with other stone fruits like plums or cherries!
- Share the joy: Gift a peach pit starter to a fellow green thumb—nurturing grows together!
Your future peach tree is just a few months (and a little patience) away—let’s make it bloom! 🌸