
Size
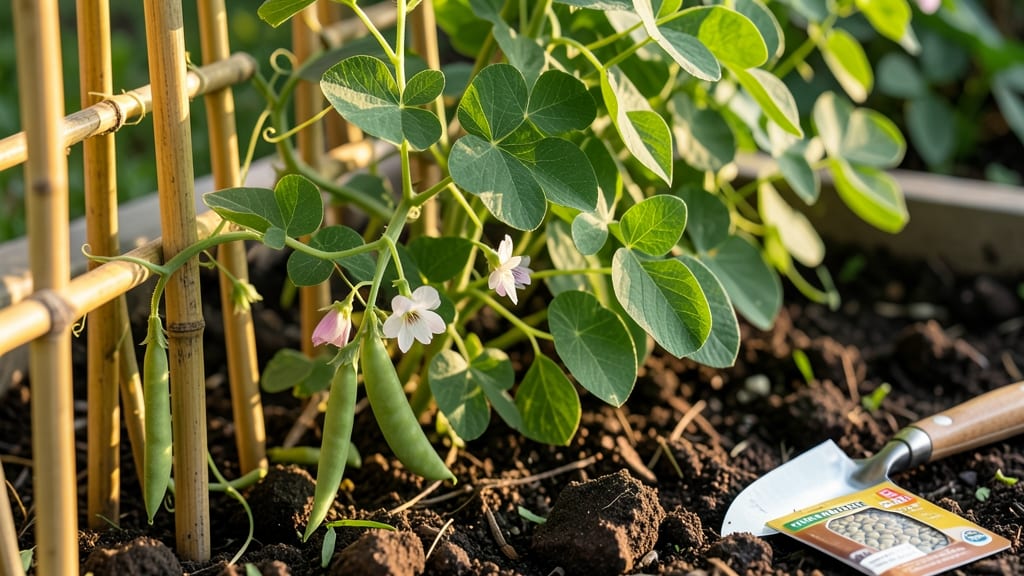
Growing pear trees from seed in a garden isn’t just rewarding—it’s a year-long patience test that pays off with trees that might just surprise you. 🌱 Last spring, I cracked the code on cold stratification after three failed attempts, and now my seedlings are thriving where store-bought trees would’ve struggled.
The trick? Mimicking winter’s chill to break dormancy before germination even begins.
You’ll need three simple supplies: fresh pear seeds (save them from organic pears), a damp paper towel or peat moss, and a plastic bag or container for moisture control.
The process takes 6-8 weeks of refrigeration before you even see sprouts—so start in late summer or fall for spring planting. Most gardeners skip this step and wonder why their seeds never wake up.
By spring, you’ll have sturdy little seedlings ready to transplant into well-draining soil with full sun.
They’ll grow slowly at first (think 6-12 inches the first year), but with consistent watering and patience, you’ll have a tree that could bear fruit in 5-10 years—though it might not look like the parent pear. That’s the trade-off for the joy of growing something from scratch.
Here’s the plot twist: homegrown pears rarely fruit true to the parent, but the trees themselves become disease-resistant powerhouses that outlast grafted varieties. The real win? You’re growing a tree that’s uniquely yours—no nursery tags required. Ready to plant the seeds of your future orchard?
📚 In This Guide
- What you need
- Instructions
- Tips and common mistakes
- Wrapping up and next steps
What you need
- ● Pear seeds: 3–5 fresh, plump seeds (harvested from organic, non-hybrid pears for best results).
- ● Cold stratification setup: Small paper towel or dampened coffee filter
- ● Zip-top plastic bag (quart-sized or larger)
- ○ Optional: Moistened peat moss or vermiculite (1–2 cups)
- ● Planting containers: Small pots (3–4 inches deep) with drainage holes
- ● Seed-starting mix (sterilized, well-draining soil blend)
- ● Tools: Spray bottle (for gentle watering)
- ● Tweezers (for handling tiny seeds)
- ● Label markers & tags (to track seed varieties)
- ● Time commitment: 6–12 weeks of cold stratification (refrigerator) + 4–8 months for germination.
- ● Climate: Patience for outdoor planting—wait until after the last frost in your zone (USDA Zones 5–9 ideal).
- ● Space: A sunny spot (6+ hours of light daily) or a grow light for indoor starts.
- ● Humidity dome or clear plastic wrap (to retain moisture during germination).
- ● pH testing kit (ideal soil pH: 6.0–7.0 for pears).
- ● Fertilizer (balanced 10-10-10 or compost tea for young seedlings).
- ● Garden journal (to log progress and adjust care!).
Step-by-step guide to cold stratifying pear seeds for garden success
Here’s how to break dormancy and ensure your pear seeds germinate reliably next spring.
🌱 Step 1: Harvest and Clean the Seeds
Collect fresh pears from a healthy tree and scoop out the seeds, removing any remaining fruit pulp. Rinse them thoroughly under cool water to remove all traces of sugar or fermentation, which can rot the seeds. Lay them out on a paper towel to dry completely—this prevents mold during stratification.
I like to spread them in a single layer on a clean surface for 24 hours in a warm, dry spot. Once fully dry, store them in a labeled paper envelope until stratification. The key here is patience—seeds must be bone-dry before cold treatment begins.
❄️ Step 2: Stratify for 60-90 Days
Place the seeds in a sealed plastic bag with a damp paper towel at the bottom. The towel should stay moist but not soggy—squeeze it gently to test. Seal the bag and refrigerate for 60-90 days at 35-40°F. This mimics winter conditions and tricks the seeds into breaking dormancy.
Check the towel weekly and mist if it dries out. If mold appears, discard the seeds and start fresh. After 90 days max, remove them from cold storage—any longer risks weakening germination. This is where most growers fail: too short a period won’t break dormancy, while over-stratifying kills viability.
🌱 Step 3: Sow in a Controlled Environment
Fill small pots with sterile seed-starting mix and plant seeds ½ inch deep, spacing them 2 inches apart. Water gently until the soil is moist but not waterlogged. Place the pots in a warm spot (65-75°F) with indirect light for 2-4 weeks—this encourages root development before true leaves appear.
I cover the pots with plastic wrap to retain humidity, but remove it daily for 10 minutes to prevent fungal growth. Watch for cotyledons (the first tiny leaves) to emerge—this signals successful germination. If nothing appears after 6 weeks, the seeds may need another stratification cycle or were non-viable.
☀️ Step 4: Transition to Outdoor Conditions
Once seedlings have 3-4 true leaves, harden them off by moving them outdoors for 2-3 hours daily, gradually increasing exposure over 10-14 days. Choose a sheltered spot to avoid windburn. After full acclimation, transplant them into the garden in early spring, spacing them 15-20 feet apart—pears need room to thrive.
Real talk: These seedlings won’t fruit for 5-7 years, but the wait is worth it for a tree grown from your own harvest. Mulch heavily around the base to protect roots and water deeply once a week during dry spells. Patience now means reliable blooms—and eventually, homegrown pears—later.
Tips & tricks for perfect pear seed stratification
These little-known strategies will help you maximize germination rates and avoid common pitfalls with your pear seeds.
Drying Time Matters: The 24-hour drying period in Step 1 is non-negotiable for mold prevention. I've learned this the hard way—any moisture left on seeds during stratification leads to rot. Spread them on a clean surface with good airflow, like a wire rack, to speed up evaporation. If you're impatient, use a fan on low setting to dry them in just 12 hours, but monitor closely to avoid over-drying, which can reduce viability.
Stratification Temperature Secrets: While the 35-40°F range works, I've found that 38°F is the sweet spot for most refrigerators. Use a thermometer to check—some fridges cycle between 32°F and 42°F, which can disrupt the process. If your fridge runs cooler, place the bag on the top shelf near the back where it's warmest. The goal is consistent cold, not extreme cold that shocks the seeds.
Visual Stratification Check: After 60 days, gently squeeze your seeds—they should feel slightly softened but still firm. If they're mushy, you've over-stratified; if they're still hard, extend for another 15 days. I also make a small mark on the bag with a permanent marker when I start, so I can track exactly 90 days later without guessing. This simple habit prevents both under- and over-stratification mistakes.
Sowing Depth Precision: That ½-inch depth in Step 3 is crucial—any deeper and they'll struggle to push through the soil. Use a pencil to make small holes, then drop seeds in gently. I've found that pressing the soil lightly around the seeds (but not compacting it) helps maintain moisture while allowing oxygen flow. For larger seeds, you might need to scratch the soil surface rather than make deep holes.
Pro Tips for Pear Seed Grow A Garden
- These little-known strategies will help you maximize germination rates and avoid common pitfalls with your pear seeds.
- Drying Time Matters: The 24-hour drying period in Step 1 is non-negotiable for mold prevention. I've learned this the...
- Stratification Temperature Secrets: While the 35-40°F range works, I've found that 38°F is the sweet spot for most re...
Frequently asked questions
Got questions about growing pears from seed? You’re not alone!
Here are the most common queries—plus straightforward answers—to help you navigate cold stratification and garden prep like a pro.
How long does cold stratification need to last for pear seeds?
Pear seeds typically require 8–12 weeks of cold stratification (40–50°F) to break dormancy. Place them in a damp paper towel or moist sand in the fridge, then plant after stratification—just don’t rush it! Patience ensures stronger roots and better germination rates.
Can I skip cold stratification and plant pear seeds directly?
Not recommended! Without stratification, pear seeds may take months (or never) to sprout. If you’re in a hurry, try a quick-start method: Soak seeds in warm water for 24 hours before planting, but still chill them for at least 4 weeks afterward for best results.
What’s the best soil mix for pear seed germination?
Use a light, well-draining mix like:
- 50% peat moss or coconut coir
- 30% perlite or vermiculite
- 20% compost or worm castings
Will a pear tree grown from seed produce fruit like the parent?
Probably not! Seed-grown pears are unpredictable—they may take 5–10 years to fruit (if they do at all) and likely won’t match the parent tree’s flavor or size. For reliable fruit, grafting or buying nursery trees is better. Save seeds for fun or experimental gardening!
What if my seeds mold or rot during stratification?
Mold or rot usually means too much moisture. If you spot fuzzy growth:
- Dry the seeds at room temp for 1–2 hours.
- Rinse with a 10% hydrogen peroxide solution (1 part peroxide to 9 parts water) to kill mold.
- Re-stratify in fresh, damp (not wet) medium.
Wrapping up and next steps
Growing pears from seed is a rewarding journey that blends patience with the magic of nature! 🌱 By mastering cold stratification, you’ve unlocked the secret to nurturing those tiny seeds into thriving trees—ready to bloom and bear fruit in years to come.
Whether you’re a beginner or a seasoned gardener, every seed you plant is a step toward a lush, homegrown harvest.
Now that you’re armed with the know-how, take the next step: gather your seeds, set up your stratification station, and let the cold work its magic.
Watch as your garden transforms into a haven of pear trees, and soon, you’ll be sharing fresh, homegrown pears with pride. Happy growing! 🌿