
Propagation
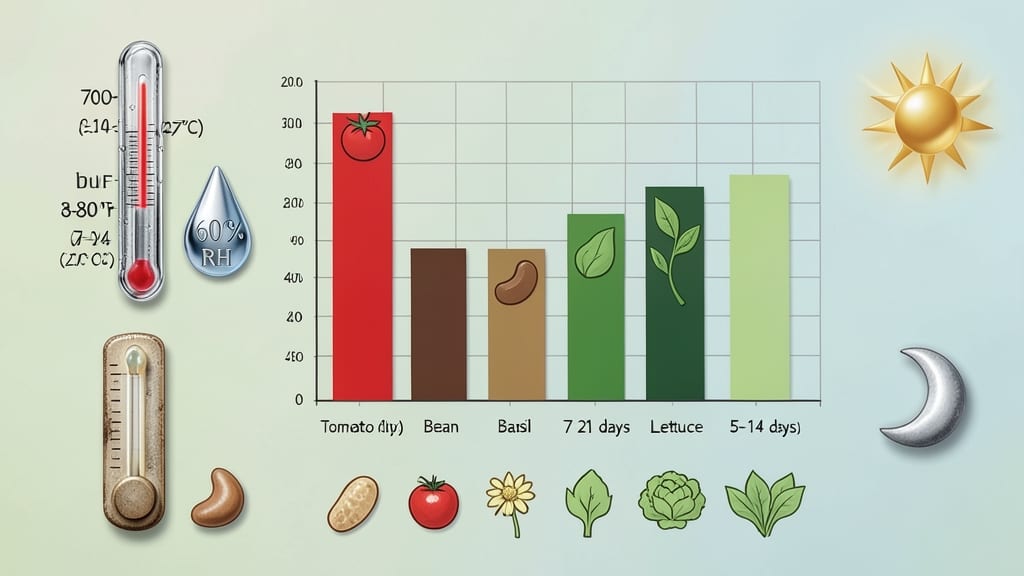
A seed germination chart isn't just numbers—it's your cheat code for transforming tiny seeds into thriving plants. 🌱 I've used mine to go from frustrated beginner to confident grower, and the difference is night and day.
Instead of guessing when to expect sprouts or why some seeds seem to ignore you, this chart gives you exact timelines, soil temperature needs, and moisture clues for over 50 common plants.
The magic happens when you match your growing conditions to what each seed actually needs. Tomatoes might sprout in 6-10 days at 70°F, but drop to 14-21 days if your soil is only 60°F. Herbs like basil can germinate in just 5-7 days, while stubborn parsley might take 2-3 weeks.
Knowing these ranges means you stop second-guessing and start planning—like knowing when to finally give up on a slow starter and start fresh.
What you'll actually get is a garden where timing feels effortless. No more wondering why your peppers took forever or why your lettuce sprouted overnight.
You'll know exactly when to expect those first green shoots, when to adjust heat mats, and when to stop watering daily because the seeds are finally waking up.
The chart even helps you troubleshoot—if your beans should sprout in 3 days but nothing's happening, it's time to check moisture or seed viability.
Works for everything from your kitchen windowsill to a greenhouse setup, and adapts to any climate. Whether you're growing tomatoes for the first time or just trying to improve your germination rates, this is the practical tool that finally makes seed starting predictable. Let's get those seeds sprouting on schedule!
📚 In This Guide
- What you need
- Instructions
- Tips and common mistakes
- Wrapping up and next steps
What you need
- ● Seeds: 50+ varieties of your choice (ensure they’re fresh and stored properly).
- ● Seed trays or pots: 2–4" deep, with drainage holes (10+ units for variety testing).
- ● Seed-starting mix: Lightweight, sterile potting soil (avoid garden soil—it’s too dense!).
- ● Watering can or spray bottle: With a fine mist nozzle (gentle watering is key!).
- ○ Clear plastic domes or plastic wrap: To create a humid environment (optional but helpful for slow germinators).
- ● Grow lights or sunny windowsill: 12–16 hours of light daily (LED grow lights are ideal).
- ● Thermometer: To monitor soil temperature (most seeds prefer 65–75°F).
- ● Notebook or germination chart template: To log progress (printable templates available online!).
- ● Pencil or marker: For labeling seeds and tracking dates.
- ● Heating mat: For warm-season seeds (e.g., peppers, tomatoes).
- ● Humidity tray: Elevates trays above water for consistent moisture.
- ● Seedling heat mat: Speeds up germination for cold-sensitive seeds.
- ● Digital scale: For precise soil moisture tracking (aim for 50–60% moisture).
- ● Plant labels: Waterproof tags to avoid smudging.
How to use a seed germination chart for faster, healthier sprouts
Here's how I use germination timelines to plan ahead and avoid common pitfalls.
📊 Step 1: Identify Your Plant's Germination Category
First, find your seed on a germination chart—most plants fall into one of three speed categories: fast (3-7 days), moderate (7-14 days), or slow (14-30+ days). Fast germinators like radishes and lettuce sprout quickly, while slow ones like parsley or peppers need patience. I always check the chart before planting to set realistic expectations.
Look for any notes about cold treatment (stratification) or light exposure requirements—these can drastically alter germination times. For example, delphinium seeds need a cold period before sprouting, while impatiens seeds require light to germinate. Adjust your approach based on these specifics.
⏰ Step 2: Calculate Your Planting Timeline Backwards
Start by marking your last frost date on the calendar. Then, work backward using the germination chart. For fast germinators like beans or peas, you can plant 2-3 weeks before the last frost. Moderate plants like tomatoes need 4-6 weeks of indoor growing time, while slow germinators like okra or sweet potatoes require 8-12 weeks before transplanting.
I like to write the target transplant date on the seed packet. This prevents last-minute rushing and ensures seedlings are strong enough for the garden. For example, if your last frost is May 15, plant tomatoes March 15 to give them 6 weeks indoors before moving outside.
🌱 Step 3: Adjust Conditions for Faster or Slower Germination
Some seeds germinate faster with warmth (75-85°F), while others need cool conditions (60-70°F). Check the chart for your plant’s ideal temperature range. I use a seedling heat mat for warm-loving seeds like peppers and a cool windowsill for slower germinators like carrots. Maintain consistent moisture—too dry, and seeds won’t sprout; too wet, and they’ll rot.
If your seeds aren’t sprouting within double the chart’s expected time, they may need scarification (scratching the seed coat) or soaking (24 hours in warm water). For example, chives often benefit from a quick soak before planting, while tomatoes germinate better when their seeds are lightly nicked with sandpaper.
🔍 Step 4: Track Progress and Troubleshoot Delays
Mark germination dates on your chart as seeds sprout. This helps you spot patterns—like why your basil always takes longer than expected. If germination stalls, check for poor soil contact (seeds need darkness to sprout) or old seeds (viability drops after 1-2 years). I test seed viability by soaking a few in water—if they sink, they’re likely still good.
Watch for mold or rot—a sign of overwatering or poor drainage. If you see fuzzy growth on the soil, remove affected seeds immediately and reduce moisture. Leggy seedlings? Your light source is too far away. Adjust conditions based on what you observe, not just the chart.
📝 Step 5: Plan for Successive Plantings Using the Chart
Extend your harvest season by using the germination chart to schedule successive plantings. For example, if lettuce takes 5-10 days to sprout, plant a new batch every 2 weeks for a continuous supply. Fast germinators like radishes (3-5 days) are perfect for quick succession, while slower ones like onions (10-20 days) work well for staggered harvests.
I keep a seed germination journal to track which varieties perform best in my climate. Over time, you’ll notice some seeds germinate faster in your conditions than the chart predicts—adjust your planting schedule accordingly. This is how you turn a generic chart into a personalized growing system.
Tips & tricks for perfect seed germination timing
These practical strategies will help you maximize your germination success using the chart's science-backed timelines.
Germination Category Flexibility: While the chart provides clear categories (fast, moderate, slow), don't be afraid to adjust slightly based on your local climate. In cooler climates, you might extend the 3-7 day window for fast germinators to 5-9 days. I've found that in my zone 5 garden, beans often take the full 7 days rather than the 3-5 days listed. Keep a small notebook to track your local variations—this turns the chart into a personalized tool over time.
Temperature Troubleshooting: The chart's ideal ranges (75-85°F for warmth-loving seeds, 60-70°F for cool-loving ones) are perfect targets, but real-world conditions rarely match perfectly. If you're using a heat mat for peppers but germination stalls after 14 days (double the expected 7 days), try increasing the temperature slightly to 85°F. For cool seeds like carrots, if they're taking longer than 10-20 days, move them to a slightly cooler spot (around 55°F) to mimic spring soil temperatures.
Light Exposure Hack: Many seeds (like impatiens) require light to germinate, but others need darkness. Here's a simple trick: Use clear plastic containers with lids for light-requiring seeds—just place them under grow lights. For darkness-loving seeds, cover the containers with aluminum foil until germination begins, then remove the foil. I keep a small stack of these containers labeled "light" and "dark" to avoid confusion during planting.
Successive Planting Math: When planning your 2-week succession plantings for fast germinators like lettuce (5-10 days), remember that the 2-week window should start from your first planting date, not from when you see sprouts. For example, if your first lettuce batch sprouts in 5 days, your second batch should go in 12 days later (not 10 days after sprouting). This ensures continuous harvests without gaps. I mark these dates directly on my calendar with colorful tabs to avoid missing planting windows.
Pro Tips for Seed Germination Chart
- These practical strategies will help you maximize your germination success using the chart's science-backed timelines.
- Germination Category Flexibility: While the chart provides clear categories (fast, moderate, slow), don't be afraid to adjust slightly based on your local climate.
- Temperature Troubleshooting: The chart's ideal ranges (75-85°F for warmth-loving seeds, 60-70°F for cool-loving ones) are perfect targets, but real-world conditions rarely match perfectly.
Frequently asked questions
Got questions about seed germination timelines? You’re not alone!
Whether you’re a beginner gardener or a seasoned green thumb, timing and conditions can feel tricky. Here’s a quick breakdown of the most common concerns—plus expert tips to help your seeds sprout like a pro.
How accurate are seed germination charts?
Germination charts provide average timelines based on ideal conditions (temperature, moisture, and light). Real-world results can vary by 50% or more due to seed age, soil quality, or environmental factors. Always test a few seeds to gauge your specific success rate!
What if my seeds take longer than the chart says?
Don’t panic! Factors like cold soil, old seeds, or poor drainage can slow germination. Try these fixes:
- Warm the soil with black plastic mulch or a heat mat.
- Soak seeds overnight in warm water (for hard-coated varieties like beans).
- Check moisture—seeds need consistent dampness, not soggy conditions.
Can I speed up germination with tricks like soaking or scarifying?
Some seeds benefit from pre-treatment:
- Soaking: Softens hard seed coats (e.g., chia, flax). Soak 4–12 hours in warm water.
- Scarifying: Lightly nick or sand hard shells (e.g., peanuts, some legumes) to mimic natural wear.
- Stratification: Replicate winter chilling (e.g., apples, lilacs) by refrigerating moist seeds for weeks.
What should I do if my seeds rot instead of sprouting?
Rot is a red flag—usually caused by overwatering or poor drainage. Fix it fast:
- Use a well-draining mix (50% potting soil + 50% perlite/sand).
- Avoid bottom-watering; use a spray bottle for gentle moisture.
- If seeds are already planted, repot into fresh, dry soil and reduce watering.
Does indoor lighting affect germination times?
Most seeds don’t need light to germinate—they sprout underground! However, light-sensitive seeds (like lettuce or basil) may take longer in darkness. For indoor starts:
- Keep seeds in darkness until sprouts emerge (1–2 inches tall).
- Use a grow light only after germination to prevent leggy seedlings.
- Natural sunlight is fine once seedlings are sturdy (but avoid scorching heat).
Wrapping up and next steps
Mastering seed germination is all about patience, precision, and a little science! 🌱 With this seed germination chart, you now have a roadmap to success—whether you're growing veggies, flowers, or herbs.
Each plant has its own timeline, but consistency in moisture, warmth, and light will give you the best shot at thriving sprouts.
Ready to dive deeper? Start experimenting! Try germinating a few seeds from your chart this week, track their progress, and adjust conditions as needed. Happy growing—your green thumb is closer than you think! 🌿