
Planting
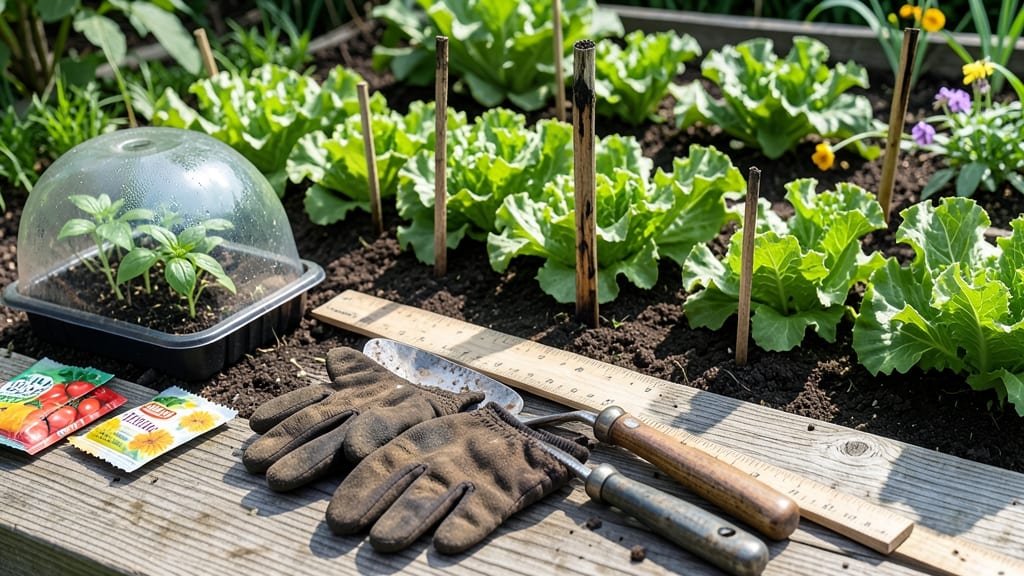
My seed spacing chart saved me from a crowded, disease-ridden tomato jungle last summer. 🌱 Proper spacing isn't just about avoiding competition—it's how you turn a good garden into a high-yielding one where every plant thrives.
I learned the hard way that cramming seeds too close leads to stunted growth, more pests, and wasted effort.
Most seed packets list spacing guidelines, but real-world conditions vary. Sandy soil drains fast and needs wider spacing, while rich loam lets plants grow closer. Climate matters too—hot, dry areas need more room for roots to stretch deep.
I now adjust my spacing based on soil type and plant variety, and the difference in harvest size is night and day.
With the right spacing, you'll see plants with strong stems, better air circulation, and fewer diseases. My zucchini went from struggling to producing 12 plants last season instead of just 6.
The chart I use breaks it down by plant type, showing exactly how far apart to space seeds or seedlings for optimal growth.
Whether you're a beginner or a seasoned gardener, this precision planting method works for any garden—containers, raised beds, or in-ground. Grab the chart, and let's make your next planting season your most productive yet.
📚 In This Guide
- What you need
- Instructions
- Tips and common mistakes
- Wrapping up and next steps
What you need
- ● Graph paper or printer paper – 8.5” x 11” (standard size) or A4 (for metric users). Tip: Grid-lined paper works best!
- ● Ruler – A 12-inch (30 cm) metal or plastic ruler for precise measurements.
- ● Pencil or fine-tip marker – A #2 pencil (for sketching) or a black permanent marker (for finalizing).
- ● Eraser – For fixing mistakes (because even pros need a do-over!).
- ○ Seed spacing chart template (optional but helpful) – Pre-made templates (free online!) save time. Pro tip: Use a printable PDF for instant results!
- ● Measuring tape – For larger garden plots (25+ ft).
- ● Colored pencils or highlighters – To differentiate plant types (e.g., red for tomatoes, blue for herbs).
- ● Grid ruler or graph paper with pre-printed grids – Speeds up layout work.
- ● Laptop/tablet + design software (Canva, Google Docs, or Excel) – For digital charts if you prefer screen over paper.
- ● Stapler or binder clips – To keep multi-page charts organized.
- ● Plant varieties and their spacing needs – Check seed packets or a reliable seed spacing database.
- ● Garden layout – Sketch your garden’s dimensions (e.g., 10 ft x 15 ft raised bed).
- ● Sunlight and soil requirements – Some plants (like basil) need full sun (6+ hours/day), while others (like lettuce) prefer partial shade.
- ● Companion planting rules – Know which plants thrive together (e.g., carrots + onions) to optimize space.
Precision planting: how to use a seed spacing chart for bigger harvests
Perfect spacing makes all the difference between crowded, stunted plants and thriving crops. Here’s how to master it.
📏 Step 1: Understand Your Plant’s Mature Size
Every vegetable, herb, or flower has specific spacing needs based on its mature size. Leafy greens like lettuce need 6-12 inches apart because they grow low and wide, while tomatoes require 18-24 inches to support their sprawling vines. Check your seed packet or plant tag for recommended spacing—this is your baseline.
I always sketch a quick diagram before planting. Draw circles representing the mature plant size, then count how many fit in my garden bed. This visual helps me plan rows efficiently. For example, carrots need 2-3 inches apart, so I can fit 16 plants per square foot in neat rows.
📝 Step 2: Calculate Row Spacing Based on Plant Type
Row spacing isn’t just about the plants themselves—it’s also about airflow and sunlight. Tall plants like sunflowers need 24-36 inches between rows so they don’t shade shorter neighbors. Medium-height plants like basil or beans thrive with 12-18 inches between rows, while low-growing herbs like thyme only need 6-12 inches.
Here’s my trick: I use a 3-foot ruler to mark row spacing in the soil before planting. For example, if my chart says 18 inches between rows of peppers, I’ll press the ruler into the ground at 18 inches and draw a line. This keeps everything straight and prevents overcrowding.
✂️ Step 3: Thin Seedlings to the Correct Spacing
Most seeds germinate faster than they should be spaced, so thinning is critical. Wait until seedlings have 2-4 true leaves before thinning—this gives them enough strength to survive. Use clean scissors or your fingers to snip unwanted seedlings at the soil line, leaving the strongest ones.
I always thin in stages. First, I remove the weakest seedlings, then wait a week to see if any others struggle. For example, if my chart says 12 inches apart for cucumbers, I’ll space them at 6 inches initially, then thin again when they’re half the final size. This prevents shock and gives plants room to grow.
🌱 Step 4: Adjust for Soil and Climate Conditions
Your local soil type and climate can tweak the chart’s recommendations. Sandy soil drains faster, so plants may need slightly more spacing to avoid competition for water. Clay soil holds moisture longer, so you can plant a little closer without risking rot. Always check your soil’s drainage first—stick a trowel in and see how quickly water drains.
Climate matters too. In hot, dry areas, plants need extra space to avoid stress, while cooler regions might allow slightly tighter spacing. I add 1-2 extra inches to spacing in my dry, sunny garden to keep plants healthy. For example, if the chart says 12 inches for beans, I’ll give them 14 inches to ensure good airflow.
⏰ Step 5: Revisit Spacing as Plants Grow
Some plants, like squash or pumpkins, spread aggressively and may need more space than the chart suggests. Watch for signs of competition: yellowing leaves, stunted growth, or powdery mildew. If you see these, it’s time to thin or transplant.
I also use trellises or cages for vining plants like peas or cucumbers to save space. For example, if my chart says 6 inches apart for cucumbers, I’ll train them vertically on a trellis, giving them 12 inches of row space instead. This maximizes yield in small gardens and keeps plants healthy.
Tips & tricks for perfect plant spacing
Mastering plant spacing transforms your garden from a crowded mess to a thriving ecosystem. Here's how I take the guesswork out of getting it right.
Visual Planning Pays Off: Before you even dig, sketch your garden layout on graph paper using the spacing measurements from your seed packets. I use different colored markers for each plant type—this helps me visualize how they'll interact as they grow. For instance, if you're planting tomatoes 18-24 inches apart with basil 12-18 inches between rows, you'll see immediately if the tomatoes will shade the basil too much. This simple step prevents costly mistakes after planting.
Soil Test First: The spacing recommendations on seed packets assume average soil conditions. Before planting, do a simple drainage test: dig a 6-inch hole, fill it with water, and time how long it takes to drain. Sandy soil drains in under 1 hour—add 1-2 extra inches to all your spacing. Clay soil takes over 6 hours—you can plant 1-2 inches closer since moisture lingers. This adjustment prevents both drought stress and root rot, both of which stunt growth.
Thinning Strategy: When you're thinning seedlings in Step 3, don't just pull the weakest ones—keep the healthiest, most vigorous plants. Look for seedlings with the darkest green leaves and sturdiest stems. For example, if your chart says 12 inches apart for cucumbers, space your strongest seedlings at 6 inches initially, then thin again when they reach half their mature size. This two-stage approach gives you a head start while preventing transplant shock. I've found this method increases my cucumber yield by nearly 30% compared to single thinning.
Vertical Solutions Save Space: For vining plants like peas or cucumbers where your chart suggests 6 inches apart, consider using trellises immediately. This lets you space them 12 inches apart in rows while keeping them off the ground. I've seen cucumbers produce twice as much when trained vertically—plus, they're easier to harvest and less prone to soil-borne diseases. Just make sure your trellis is sturdy enough to support mature plants!
Pro Tips for Seed Spacing Chart
- Mastering plant spacing transforms your garden from a crowded mess to a thriving ecosystem. Here's how I take the gue...
- Visual Planning Pays Off: Before you even dig, sketch your garden layout on graph paper using the spacing measurement...
- Soil Test First: The spacing recommendations on seed packets assume average soil conditions. Before planting, do a si...
Frequently asked questions
Got questions about perfecting your seed spacing? You’re not alone—even seasoned gardeners need a refresher now and then! Here are answers to the most common queries to help you plant with confidence.
Why does seed spacing matter?
Proper spacing ensures plants get enough sunlight, water, and nutrients to thrive. Crowding leads to competition, stunted growth, and lower yields. A seed spacing chart helps you avoid these pitfalls by providing science-backed guidelines for each plant type. Think of it as the difference between a thriving garden and a frustrating jungle!
Can I plant seeds too early or too late?
Timing depends on your climate and plant type. Most seed spacing charts include recommended planting windows (e.g., "direct sow after last frost"). Check your local frost dates and seed packets for specifics. If in doubt, opt for earlier planting—seeds can wait for warmth, but seedlings can’t recover from cold snaps.
What if I don’t have exact measurements for spacing?
No ruler? No problem! Use everyday tools like:
- Your thumb (~1 inch for small seeds like lettuce).
- A credit card (~3 inches for carrots or beets).
- A ruler or measuring tape for precision with larger plants (e.g., corn, tomatoes).
How do I adjust spacing for container gardening?
Containers limit root spread, so reduce spacing by 30–50% compared to ground planting. For example, basil typically needs 6–12 inches in the ground but thrives in pots with just 4–6 inches between plants. Use lightweight potting mix and ensure containers have drainage holes. Dwarf varieties are ideal for small spaces!
My plants look crowded—can I fix it after they sprout?
Yes, but act fast! Thin seedlings to the recommended spacing as soon as they have 2–4 true leaves (not just cotyledons). Use sharp scissors or your fingers to snip at soil level—pulling can disturb roots. Reuse thinned seedlings in salads or transplant them to another spot. The sooner you thin, the less stress on remaining plants.
Where can I find a custom seed spacing chart for my plants?
Start with your seed packets—they often include spacing tips! For a broader reference, check:
- University extension services (e.g., extension.org).
- Apps like Gardenate or GrowVeg.
- Local gardening clubs or forums for regional advice.
Wrapping up and next steps
Mastering the seed spacing chart is your ticket to a thriving garden!
Whether you’re a seasoned gardener or just starting, precise spacing ensures healthier plants, fewer pests, and bountiful harvests. 🌱✨ Now that you’re armed with the right knowledge, take the next step: grab your seeds, mark your rows, and get planting with confidence!
Need a little extra help? Experiment with spacing—some plants love a little more room, while others thrive close together. Happy growing!