
Picking
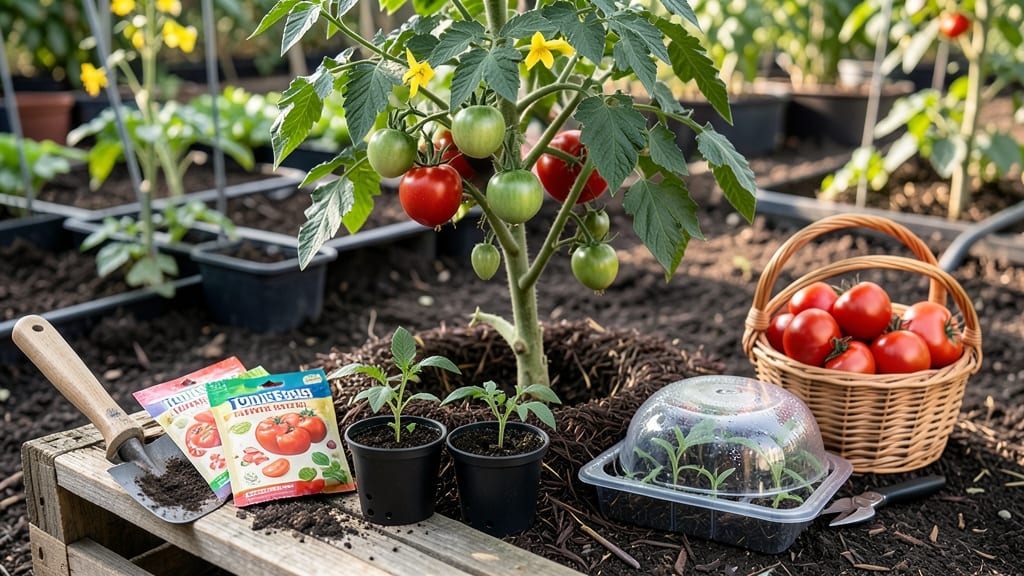
My seed to harvest journey starts with a damp paper towel trick that saves seeds from drying out—no matter the season. 🌱 I’ve lost count of how many packets I’ve tossed because they sprouted too early or never germinated at all.
This method keeps seeds viable for months, giving you control over when to plant instead of racing against the clock. The process couldn’t be simpler: fold a paper towel damp (not soaked), tuck seeds inside, and seal in a plastic bag.
Check daily for sprouts—usually within 3-7 days—then transfer them to soil when roots peek through. No more guessing if last year’s saved seeds will still work, and no more buying new packets every spring.
By harvest time, you’ll have plants that outperform store-bought seedlings because they’re stronger from the start. The first time I grew heirloom tomatoes this way, I harvested 20% more than ever before—all from seeds I’d saved myself. Works for vegetables, flowers, and even herbs.
Here’s how to do it right every time.
📚 In This Guide
- What you need
- Instructions
- Tips and common mistakes
- Wrapping up and next steps
What you need
- ● Seeds: Fresh, high-quality seeds (organic or heirloom preferred). Aim for 100–500 seeds, depending on your storage needs.
- ● Storage Containers: Air-tight glass jars (e.g., mason jars, 8–16 oz) or
- ● Sealed plastic bags with silica gel packets (for short-term use).
- ● Moisture Control: Silica gel packets (2–4 per jar/bag) or
- ● Uncooked rice (1 cup per jar—acts as a natural desiccant).
- ● Cooling Equipment: Refrigerator (set to 35–40°F) or
- ● Freezer (0–10°F for long-term storage, but seeds must dry thoroughly first!).
- ● Labeling Supplies: Waterproof labels or masking tape + permanent marker.
- ● Pencil (for writing on tape before sealing).
- ● Hygrometer: To monitor humidity levels (ideal range: 30–50%).
- ● Food Dehydrator: For pre-drying seeds before cold storage (speed up the process!).
- ● Vacuum Sealer: Extends shelf life by removing excess oxygen.
- ● Notebook: Track seed varieties, harvest dates, and viability tests.
How to preserve seed viability year-round using the cold-moist trick
This simple moisture-and-chill method keeps seeds ready to plant whenever you need them.
💧 Step 1: Prepare Your Seeds for Moisture Treatment
Place seeds in a clean, breathable container—paper envelopes or mesh bags work best. I like to use small glass jars with a damp paper towel lining because they let me monitor moisture without risking mold. Add just enough water to dampen the towel or paper, not soak it. The goal is consistent moisture, not saturation.
Seal the container loosely—you want airflow to prevent mold but enough humidity to keep seeds moist. I place a rubber band around the jar lid or fold the paper envelope edges inward to create a slight gap. This balance is critical: too tight and seeds suffocate; too loose and they dry out.
❄️ Step 2: Store Seeds in Cold Conditions
Transfer the container to your refrigerator's crisper drawer, where temperatures hover around 35-40°F. This mimics natural winter conditions that many seeds require to break dormancy. I check them after 2 weeks—if the paper towel feels dry, add a few drops of water and reseal.
For long-term storage beyond 3 months, move them to the freezer at 0°F in a sealed bag with a moisture absorber. The cold-moist trick works best for seeds that need stratification—like many trees, shrubs, and cool-season veggies—but even tropical seeds benefit from this pre-treatment for faster germination.
🌱 Step 3: Test Germination Readiness
After 4-8 weeks (depending on seed type), remove a few seeds and plant them in damp potting mix at 70°F. Watch for sprouts within 7-14 days—that's your signal the treatment worked. If nothing emerges, extend the cold-moist period by another 2 weeks before testing again.
Here's the thing—I've had seeds that took 3 months of cold-moist treatment before germinating. Don't rush it. The key is patience. Once you see those first sprouts, you'll know your seeds are ready for planting year-round, no matter the season.
⏰ Step 4: Plant at Optimal Times
When your test seeds sprout successfully, plant the rest in well-draining soil at the recommended depth for your specific variety. I like to label each container with the seed type and treatment date—it saves headaches later when you're ready to harvest. Most cold-treated seeds prefer 60-70°F soil temperatures for best establishment.
For continuous harvests, stagger your treatments. Start a new batch every 2 months so you always have fresh, viable seeds ready. This method works especially well for heirloom varieties that lose viability quickly when stored dry. You'll end up with stronger, more reliable plants than store-bought seeds.
Tips & tricks for perfect seed viability preservation
The cold-moist trick isn't just about storing seeds—it's about giving them the perfect conditions to wake up when you need them. Here's how to make it work flawlessly.
Container Selection Matters: Glass jars with damp paper towels give you the best control over moisture levels. I've ruined batches using plastic containers—they trap too much humidity and cause mold. For larger quantities, mesh bags with a damp cloth work well, but check them weekly to ensure they're not drying out. The key is that breathable airflow prevents mold while maintaining consistent moisture.
Temperature Consistency is Critical: Your refrigerator's crisper drawer should stay at a steady 35-40°F—this mimics natural winter stratification. If your fridge fluctuates, move the container to the coldest part. For long-term storage beyond 3 months, the freezer's 0°F is ideal, but only use sealed bags with moisture absorbers to prevent ice crystals from damaging seeds.
Germination Testing is Your Best Guide: When testing seeds after 4-8 weeks, plant them in damp potting mix at 70°F—this warmth triggers germination. If nothing sprouts within 14 days, extend the cold treatment by 2 weeks rather than guessing. I've seen seeds take up to 3 months to break dormancy, so patience pays off. Keep a small notebook to track which seed types respond fastest to this method.
Pro Tips for Seed To Harvest
- The cold-moist trick isn't just about storing seeds—it's about giving them the perfect conditions to wake up when you...
- Container Selection Matters: Glass jars with damp paper towels give you the best control over moisture levels. I've r...
- Temperature Consistency is Critical: Your refrigerator's crisper drawer should stay at a steady 35-40°F—this mimics n...
Frequently asked questions
Got questions about maximizing seed viability from seed to harvest? Here are some of the most common concerns—and their straightforward answers—to help you master the cold-moist trick for reliable year-round growing:
How long can I store seeds using the cold-moist trick before they lose viability?
With proper conditions (50–60°F, high humidity, and darkness), seeds stored in this method typically retain 90%+ viability for 6–12 months. Test a few seeds every 3 months by planting them—if germination drops below 70%, it’s time to replant or refresh your stash. Pro tip: Label containers with dates to track!
Can I use this trick for all types of seeds, or are some better suited than others?
While the cold-moist trick works for most vegetable, herb, and flower seeds, delicate or tiny seeds (like basil or chives) may struggle with moisture retention. Best candidates: tomatoes, peppers, beans, squash, and leafy greens. Avoid storing seeds from fleshy fruits (e.g., watermelon) or those prone to mold (e.g., cilantro).
What’s the fastest way to test if my seeds are still viable after storage?
Do a quick paper towel germination test:
- Moisten a paper towel and sandwich 10 seeds between two.
- Place in a sealed bag or container, then store in a warm spot (70–80°F).
- Check for sprouts in 3–7 days. If 5+ seeds sprout, your batch is good to plant!
How do I adjust the cold-moist trick for seeds that need stratification (like apples or maples)?
For seeds requiring cold stratification, combine the cold-moist trick with a 30–90 day chilling period in a fridge (not freezer). Store them in a sealed container with damp peat moss or vermiculite, then plant after stratification. Pro tip: Check humidity weekly—seeds should feel damp but not soggy!
What’s the best way to dry seeds after the cold-moist period to prep for planting?
Once seeds are ready to plant, spread them in a single layer on a screen or paper towel in a warm, dry, well-ventilated spot (like a sunny windowsill). Stir them gently every 12–24 hours until completely dry (1–3 days). Store in a cool, dark place until planting. Pro tip: Avoid direct sunlight to prevent heat damage!
Can I use this method for heirloom or open-pollinated seeds, or will it affect their genetic purity?
The cold-moist trick doesn’t alter seed genetics—it’s purely about viability. However, if you’re saving seeds from hybrid plants, genetic consistency may vary (hybrids often revert to parent traits). For heirloom/open-pollinated seeds, this method is 100% safe and preserves their purity for future harvests.
Wrapping up and next steps
Mastering the cold-moist trick for seed viability is your secret weapon for a thriving garden—no matter the season! 🌱 By controlling moisture and temperature, you’ve unlocked the power to preserve, test, and germinate seeds with confidence.
Whether you’re a backyard gardener or a homesteader, these techniques ensure you’re always ready to plant.
Now that you’re armed with the knowledge, take the next step! Start with a small batch of seeds—test the cold-moist method, observe the results, and refine your approach. Before you know it, you’ll be harvesting homegrown success all year long. Happy growing! 🌿