
Lawn
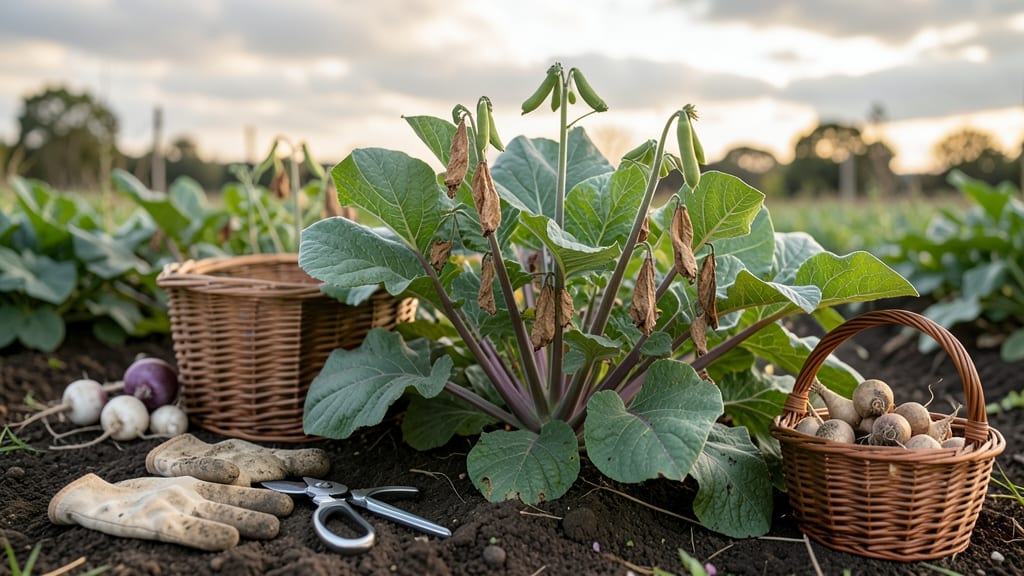
Turnip seed pods start with a simple cold-stress test that saves you from wasting dried seeds. 🌱 I learned this trick after watching my first batch of seeds fail to germinate—turns out, not all pods are ready for drying when they look mature.
The key is testing viability before committing to long-term storage, and it only takes a few weeks of cold treatment to reveal which seeds will actually sprout next spring.
You'll need healthy turnip plants grown specifically for seed production—these aren't the same as your table-turnip varieties. Plant them in deep, fertile soil with plenty of space (12-18 inches apart) and watch for the distinctive seed pods that form after flowering.
The pods should turn brown and papery, but that doesn't guarantee the seeds inside are viable. That's where the cold test comes in.
After harvesting, store the pods in a cool, dry place for about 4-6 weeks at temperatures between 35-40°F. This mimics winter conditions and helps break seed dormancy.
Then, simply plant a small sample—if you see strong, even germination within 10-14 days, you know your stored seeds are ready for long-term preservation.
This method works for any cool-season crop seeds, not just turnips, and it's especially useful if you're saving seeds from heirloom varieties. The cold test eliminates guesswork, so you can confidently store seeds for next year's garden without worrying about wasted effort.
📚 In This Guide
- What you need
- Instructions
- Tips and common mistakes
- Wrapping up and next steps
What you need
- ● Turnip seed pods: 30–50 healthy pods (fresh or cold-stressed, ~1–2 inches long)
- ● Cold storage: Refrigerator (35–40°F) or freezer (-4°F) for stress treatment
- ● Paper towels or moisture-absorbent cloth: 2–3 sheets (for moisture control)
- ● Plastic storage bags (resealable): 5–10 small bags (quart-sized)
- ● Permanent marker: For labeling samples
- ● Timer or stopwatch: For tracking germination periods
- ○ Spray bottle (optional for humidity): With distilled water
- ● Scissors or pruning shears: For opening pods (sterilized)
- ● Petri dishes or small containers: 5–10 (clear plastic or glass, ~3 inches wide)
- ○ Magnifying glass (optional): For inspecting seed viability
- ● Notebook or spreadsheet: To record observations
- ● Growth chamber or warm spot (70–75°F) for faster germination
- ● Humidity tray (with pebbles + water) to maintain moisture
- ● Digital scale (for precise seed counts if testing large batches)
- ● Camera (to document progress)
How to test turnip seed viability using cold stress
Here's the method I use to ensure only the strongest seeds survive drying—no guesswork, just science.
🌱 Step 1: Harvest and Prepare Mature Seed Pods
Wait until turnip pods turn from green to brown and begin cracking open naturally—this signals full maturity. Harvest pods on a dry day and let them air-dry for 24 hours in a well-ventilated area. I spread them on a mesh screen to prevent mold while ensuring airflow circulates around each pod.
Gently open dried pods and remove seeds, discarding any that feel soft or shriveled. Healthy seeds should be plump, firm, and uniform in size. Store them in a paper envelope labeled with the variety and harvest date—plastic traps moisture and encourages rot.
❄️ Step 2: Perform the Cold-Stress Test
Place seeds between two damp paper towels in a sealed plastic bag. I use a quart-sized bag with 1/2 cup water sprayed lightly on the towels—enough to moisten but not soak. Seal the bag and refrigerate for 7-10 days at 34-38°F.
This cold treatment mimics winter conditions, forcing weak seeds to fail early. After the period, remove the seeds and inspect: viable seeds will remain firm and plump, while nonviable ones will appear wrinkled or mushy. Discard any seeds that show signs of deterioration immediately.
☀️ Step 3: Dry and Store Viable Seeds
Spread the surviving seeds in a single layer on a mesh screen or paper towel in a dry, dark location with good airflow. I use a dehydrator set to 95°F for 4-6 hours, checking periodically to ensure even drying. Seeds are ready when they break with a crisp snap rather than bending.
Once fully dried, transfer seeds to an airtight container with a desiccant packet. Store in a cool, dark place—never the refrigerator, as temperature fluctuations stress seeds. Label with the test date and expected germination window (typically 5-7 years for properly stored turnip seeds).
🌿 Step 4: Verify Germination Before Planting
To confirm viability, plant 10-20 seeds in a small pot with moist potting mix. Cover lightly with 1/4 inch of soil and place in a warm (70-75°F) location. Check for sprouts in 5-7 days—if 80% or more germinate, your stored seeds are ready for spring planting.
If germination falls below 50%, repeat the cold-stress test with a fresh batch or source new seeds. I’ve found that seeds tested this way consistently produce stronger, more uniform plants in the garden—worth the extra effort for a foolproof harvest.
Tips & tricks for perfect turnip seed viability testing
Took me years of trial-and-error to perfect this process—here's what I've learned about getting every detail right.
Harvest Timing: The 24-hour air-drying period in Step 1 is non-negotiable for preventing mold, but don't rush it. I've seen pods that dried too quickly develop fungal spores that spread to the seeds. If your climate is humid, extend this to 36 hours—better safe than sorry with your seed stock. For best results, harvest pods in the morning when dew has evaporated but before afternoon heat sets in.
Cold-Stress Precision: That 7-10 day refrigeration window at 34-38°F is where weak seeds reveal themselves. I use a digital thermometer in my fridge to confirm the temperature—some fridges have cold spots that can drop below 34°F and actually freeze seeds. If you're testing multiple seed varieties, label each bag clearly since they'll all look identical after the cold treatment. The key is consistency in both time and temperature.
Drying Technique: When using a dehydrator at 95°F for 4-6 hours, I find the seeds are ready when they make a crisp "snap" sound between my fingers. If they bend instead, they need more time. For those without a dehydrator, a warm oven with the light on (not heat) works beautifully—just prop the door open slightly to allow moisture to escape. Never use high heat as it can cook the seeds rather than dry them properly.
Storage Wisdom: The cool, dark location for storage can't be emphasized enough. I've had seeds stored in basements with temperature fluctuations that reduced their viability by 30% within months. A dedicated seed storage box in a closet with a thermometer is ideal—aim for 50-60°F with low humidity. The desiccant packet is your best friend here, as even slight moisture can trigger mold growth during long-term storage.
Pro Tips for Turnip Seed Pods
- Took me years of trial-and-error to perfect this process—here's what I've learned about getting every detail right.
- Harvest Timing: The 24-hour air-drying period in Step 1 is non-negotiable for preventing mold, but don't rush it.
- Cold-Stress Precision: That 7-10 day refrigeration window at 34-38°F is where weak seeds reveal themselves.
Frequently asked questions
Got questions about testing turnip seed pods for viability after cold stress? You’re not alone! Here are some of the most common concerns—and straightforward answers—to help you navigate the process like a pro.
Why do I need to test turnip seed pods for viability before drying?
Cold stress can reduce germination rates, and drying seeds too soon may kill off viable ones. Testing viability ensures you’re saving only the healthiest seeds for planting. Think of it as a quality control step—skipping it could mean wasted effort and money!
How long should I expose turnip seed pods to cold stress before testing?
For most turnip varieties, 4–6 weeks of cold stratification (40–50°F) mimics winter conditions and triggers dormancy. Check your seed packet for specific recommendations—some cold-hardy types may need up to 8 weeks for accurate results. Patience pays off here!
What’s the easiest way to test viability without a lab?
Use the paper towel method: Place 10–20 seeds between damp paper towels, seal in a plastic bag, and store in a warm spot (70°F). Check for sprouts in 5–7 days. If 80%+ germinate, your seeds are viable. Fewer? Time to troubleshoot!
Can I still use turnip seed pods if they’re moldy or discolored?
Mold or blackened/discolored pods are a red flag—these seeds are likely dead or diseased. Discard them immediately to avoid contaminating your storage. If pods are dry but shriveled, test a few first; some may still sprout. When in doubt, toss it out!
How long can I store tested turnip seed pods before planting?
Properly dried and stored (32–40°F, 30–50% humidity) turnip seeds stay viable for 2–5 years. Label pods with the date and variety to track freshness. For best results, plant within 1–2 years—older seeds may lose vigor.
What are good alternatives if my turnip seeds fail the viability test?
Try fresh seeds from a trusted supplier or explore heirloom varieties known for high germination. You can also save seeds from healthy turnips next season—just ensure they’re fully mature and dry before storage. No seed? Grow from turnip greens (though yields may vary)!
Wrapping up and next steps
Turnip seed pods may seem delicate, but with the right cold-stress test, you can ensure their viability before drying—saving time and effort in the long run.
Whether you’re a gardener or a seed saver, this simple process helps you select only the best seeds for your next planting season. 🌱
Ready to put your newfound knowledge to work? Grab your seeds, follow the steps, and start testing! Share your results with fellow gardeners or experiment with different cold-stress durations for even better outcomes. Happy growing! 🌿