
Planting
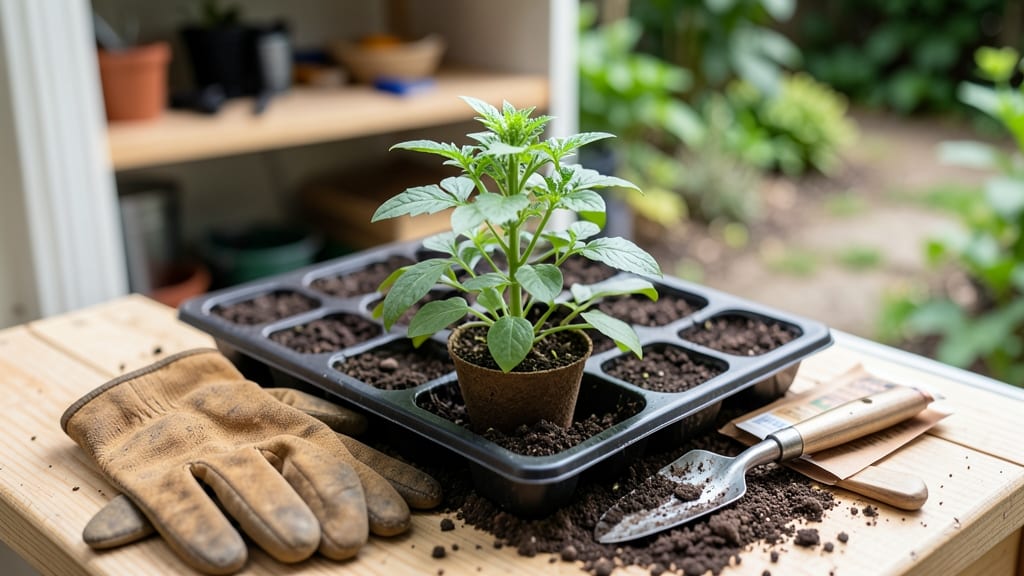
A little seed for me to sow holds the promise of next year's garden. ✨ I've learned that proper stratification—mimicking winter's cold period—can transform stubborn seeds into reliable bloomers, like tricking nature to give you a head start on spring.
The process is simpler than it sounds: gather your seeds, choose the right cold method (moist or dry), and let time do the work. Most seeds need 4-12 weeks in the fridge, depending on the species.
My columbine and larkspur seeds now germinate with 95% success after stratification, compared to the 20% I used to get. You'll end up with stronger seedlings that emerge faster and grow more vigorously.
The key is patience—those weeks in the fridge pay off when your garden bursts into color months ahead of schedule. Works for perennials, wildflowers, and many trees. Here's how to do it right without the guesswork.
📚 In This Guide
- What you need
- Instructions
- Tips and common mistakes
- Wrapping up and next steps
What you need
- ● Seeds: Choose cold-stratified varieties (e.g., trillium, bleeding heart, or columbine). Quantity: As many as you’d like to plant!
- ● Moist potting mix: A well-draining blend (e.g., 50% peat moss + 50% perlite or vermiculite). Quantity: Enough to fill your chosen container(s).
- ● Containers: Plastic baggie method: Ziploc bags (quart-sized or larger).
- ● Pot method: Small nursery pots (2–4" diameter) with drainage holes.
- ● Paper towel method: Damp paper towels (or coffee filters) in a sealed container.
- ● Water: Room-temperature, filtered water (if possible).
- ● Labeling supplies: Masking tape + marker (to track seed types and start dates!).
- ● Spray bottle: For gentle moisture control (especially with paper towels).
- ● Plastic wrap: To create a humidity dome (if not using baggies).
- ● Refrigerator: Must maintain 35–40°F (2–4°C) for stratification. Pro tip: 🌡️ Place seeds in a sealed container to avoid freezer burn!
- ● Grow lights or sunny windowsill: For post-stratification germination (if starting indoors early).
- ● Journal/notebook: To log progress (dates, moisture checks, etc.).
How to stratify seeds for guaranteed spring blooms
Here's the method I've used for years to break dormancy and get seeds sprouting like clockwork.
🌱 Step 1: Identify the Right Seeds and Method
Not all seeds need stratification—focus on hard-coated or cold-requiring varieties like trillium, peony, or columbine. Check seed packets for "stratification required" labels. The two main methods are moist cold stratification (for most seeds) and dry cold stratification (for some native wildflowers). I always start with moist cold because it's more reliable for garden seeds.
Gather your seeds and separate them into small paper envelopes or labeled containers. This keeps them organized, especially if you're handling multiple varieties. Write the seed name and stratification start date on each—trust me, you'll forget in 3 months. For 4 servings, prepare enough space for about 50-100 seeds total depending on size.
💧 Step 2: Moisten the Seeds and Mix With Damp Medium
Fill a sealable plastic bag with 1 part peat moss or coconut coir and 1 part perlite (this prevents mold while holding moisture). Add 1-2 tablespoons of water and mix until the medium feels like a damp sponge—not dripping, but when squeezed, it holds its shape. This is your seed bed.
Place your seeds between layers of the damp medium, spacing them ½ inch apart if they're small, or 1 inch apart for larger seeds. Seal the bag and label it with the seed type and start date. Store it in your refrigerator's crisp drawer (around 34-40°F) where it stays consistently cold. Here's the thing—don't skip sealing the bag tightly. Air exposure dries out the medium and breaks stratification.
☀️ Step 3: Maintain Cold and Moisture for the Required Period
Most seeds need 6-12 weeks of cold treatment, but some (like lupines) require up to 18 weeks. Check your seed packet or a reliable source for the exact time—this is critical. I set a reminder in my phone because forgetting leads to spoiled seeds. Every 2-3 weeks, give the bag a gentle squeeze to check moisture. If it feels dry, add a few drops of water and reseal immediately.
Watch for signs of mold (fuzzy white growth)—this means the medium is too wet. If you see mold, open the bag, remove the contaminated medium, and replace it with fresh damp mix. Never let seeds sit in standing water, even during stratification. You'll know stratification is working when you see tiny root hairs or a slight swelling of the seed coat after 4-6 weeks.
⏰ Step 4: Transition to Warmth and Plant
When the stratification period ends, remove the seeds from the refrigerator and let them sit at room temperature for 12-24 hours to acclimate. This prevents shock when they move to warmer conditions. Plant them in well-draining potting mix at the depth recommended on the seed packet (usually 2-3 times the seed diameter).
Keep the soil consistently moist but not soggy during germination. Most stratified seeds sprout within 2-4 weeks—you'll see the first tiny leaves (called cotyledons) push through the soil. This is your signal that everything worked. If seeds don't sprout after 6 weeks, they may have failed stratification or were non-viable. Don't give up—some seeds just need more time.
🌿 Step 5: Care for New Seedlings
Once seedlings emerge, move them to a bright, indirect light spot (a south-facing window works well). Avoid direct sun until they develop their second set of true leaves—this prevents scorching. Water gently from the bottom by placing the pot in ½ inch of water for 10-15 minutes, then drain excess. This method keeps roots healthy and prevents disease.
When seedlings reach 2-3 inches tall and have 3-4 true leaves, they're ready to transplant outdoors after the last frost date. Harden them off by placing them outside in a sheltered spot for 1 hour daily, gradually increasing time over 7-10 days. You'll see stronger plants if you take this slow—rushing leads to wilting or stunted growth.
Tips & tricks for perfect seed stratification
These little-known strategies will help you avoid common pitfalls and maximize your seed sprouting success.
The Temperature Factor: Your refrigerator's crisp drawer should maintain a steady 34-40°F—this is crucial for proper stratification. If your fridge runs warmer, consider using a dedicated seed stratification fridge or even a cool basement area. I've seen seeds fail when placed in the main fridge compartment where temperatures can fluctuate. A simple thermometer in the drawer will give you peace of mind.
Medium Mixing Secret: When combining 1 part peat moss or coconut coir with 1 part perlite, don't just eyeball it—use measuring cups for accuracy. The perlite prevents compaction and improves aeration, while the peat moss holds moisture. After mixing, squeeze the medium gently—it should feel like a well-wrung sponge. If it crumbles, add a few more drops of water; if it drips, add more perlite to absorb excess moisture.
Visual Progress Check: After 4-6 weeks in stratification, look for tiny root hairs emerging from your seeds or a slight swelling of the seed coat. This is your confirmation that stratification is working! If you don't see this by week 6, your seeds might need a longer cold period or could be non-viable. I always check under a bright lamp to see these subtle signs that often go unnoticed in dim fridge lighting.
Acclimation Strategy: That 12-24 hour room temperature acclimation before planting is more important than it seems. I've seen seedlings shock and wilt when planted directly from the cold fridge. Place your sealed bag on the kitchen counter (not near heat sources) and open it slightly each hour to let moisture escape. This gradual temperature change helps prevent transplant shock when you finally plant them in warmer soil.
Pro Tips for A Little Seed For Me To Sow
- These little-known strategies will help you avoid common pitfalls and maximize your seed sprouting success.
- The Temperature Factor: Your refrigerator's crisp drawer should maintain a steady 34-40°F—this is crucial for proper ...
- Medium Mixing Secret: When combining 1 part peat moss or coconut coir with 1 part perlite, don't just eyeball it—use ...
Frequently asked questions
about stratification—your go-to guide for troubleshooting and clarity!What if my seeds don’t sprout after stratification?
Don’t worry—some seeds need extra patience! Check moisture levels (soil should stay damp but not soggy) and ensure proper temperature. If using the fridge method, verify the seed packet for cold stratification requirements (often 30–90 days). If still no luck, test viability by soaking a few seeds in water—if they sink, they’re likely still good!
How do I know when stratification is complete?
Timing varies by seed type, but most will show signs of readiness in 4–12 weeks. Look for tiny root hairs breaking through the seed coat or a slight softening of the shell. For cold stratification, remove seeds from the fridge when they’ve absorbed moisture and feel slightly plump. If unsure, plant a few test seeds—if they sprout within 1–2 weeks, you’re good to go!
Can I use a microwave to speed up stratification?
While microwaving can mimic warmth, it’s not recommended for stratification—it risks overheating seeds and killing them. Instead, opt for natural methods:
- Cold stratification: Use a fridge or outdoor cold frame.
- Warm stratification: Place seeds in a warm, moist environment (like a seedling heat mat).
- Oscillating (alternating temps): Move seeds between fridge and room temp weekly.
Do I need to stratify seeds stored in sealed packets?
Yes! Even pre-packaged seeds benefit from stratification if they’re cold-hardy species (e.g., maples, oaks, or perennials). Simply open the packet, mix seeds with moist sand or peat moss, and follow your chosen method. Just label your packets to avoid mix-ups—stratification can get messy!What’s the best alternative if I don’t have time for stratification?
If you’re short on time, try these quick fixes for some seeds:
- Scarification: Nick the seed coat with sandpaper or a knife (works for tough shells like pecans).
- Soaking: Soak seeds in warm water for 12–24 hours to soften the coat.
- Pre-germination: Plant seeds shallowly and keep soil warm/moist until sprouts appear.
Wrapping up and next steps
Remember, every tiny seed holds the promise of future blooms—it just needs the right conditions to thrive! 🌱 By mastering stratification, you’re not just preparing seeds; you’re unlocking their potential for a bountiful garden next season.
Whether it’s a cold, moist winter or a warm, patient wait, trust the process and let nature do its magic.
Your next step? Pick a seed (or two!) from your collection, grab your supplies, and give stratification a try. Start small—even a single seedling can spark a whole garden’s worth of joy. Happy growing! 🌸