
Lawn
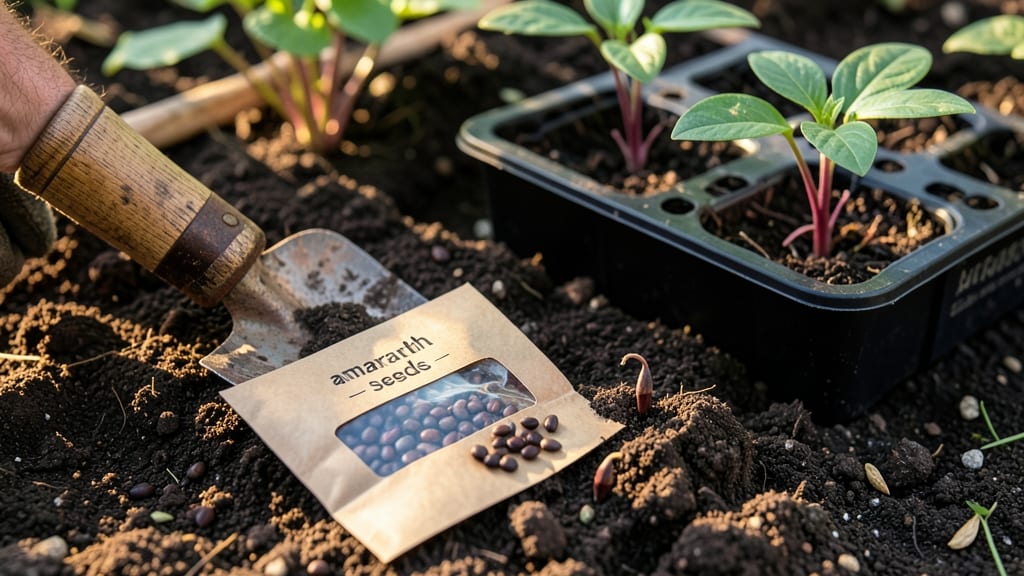
Planting amaranth seeds unlocks vibrant blooms that attract pollinators and mature in just 60 days. 🌻 I’ve grown both grain and ornamental varieties, and the secret to success starts with warm soil—wait until nighttime temperatures stay above 60°F before sowing directly in the garden.
Amaranth thrives in full sun and well-draining soil, but don’t overthink the prep. A light scratch of the surface with a hoe is enough—these seeds need light to germinate, so avoid burying them more than ½ inch deep.
Spacing depends on your goal: ornamental types can stand 12 inches apart, while grain varieties need 6-8 inches for better yields. Once sprouted, keep the soil consistently moist but not soggy. Young plants are delicate, so watch for damping-off fungus if watering feels hit-or-miss.
A gentle spray in the morning is better than a deep soak that lingers. Within weeks, you’ll see those signature plumes emerging—bright red, gold, or purple, depending on the variety. The best part? Amaranth is drought-tolerant once established, so it’s perfect for hot, dry climates.
Just avoid common mistakes like overcrowding or harvesting too early—wait until the seed heads dry completely for grain, or snip ornamental blooms for long-lasting bouquets.
📚 In This Guide
- What you need
- Instructions
- Tips and common mistakes
- Wrapping up and next steps
What you need
- ● High-quality amaranth seeds: 1–2 packets (50–100 seeds per packet) of amaranth (Amaranthus spp.) seeds (e.g., 'Love Lies Bleeding,' 'Joseph’s Coat,' or 'Red Garnet').
- ● Well-draining soil: 1–2 bags of potting mix or garden soil amended with compost (for containers or in-ground planting).
- ○ Optional: Perlite or vermiculite (1 cup) for improved aeration.
- ● Containers or garden bed: Containers: 4–6" deep pots (3–4 per seed packet) with drainage holes.
- ● Garden bed: A sunny spot (6+ hours of light) with loose, fertile soil.
- ● Watering can or hose: With a gentle spray nozzle for seedlings.
- ● Plant labels: To track varieties (e.g., wooden stakes or plant markers).
- ○ Fertilizer (optional but helpful): Balanced 10-10-10 fertilizer or compost tea (1 tbsp per gallon of water).
- ● Native wildflowers: Plant nearby to extend the blooming season (e.g., coneflowers or milkweed).
- ● Water source: A shallow dish with pebbles for bees to sip.
- ● Pest deterrents: Neem oil spray (1 tsp per quart of water) if aphids appear.
Step-by-step instructions for planting amaranth seeds
Here’s how to grow vibrant, pollinator-friendly amaranth blooms from seed in just 60 days—no fancy tools required.
🌱 Step 1: Prepare the Planting Site for Optimal Growth
Amaranth thrives in full sun and well-draining soil, so choose a spot that gets at least 6-8 hours of direct sunlight daily. Work in 2-3 inches of compost into the top layer of soil to improve fertility and drainage. Amaranth’s deep roots need loose soil to spread, so avoid compacted or clay-heavy areas.
If your soil feels dense, mix in 1-2 inches of coarse sand or perlite to help water penetrate. A quick test: grab a handful of soil—if it clumps tightly when wet, it needs amending. Amaranth’s tolerance for poor soil makes it a great choice for neglected patches, but it still rewards good prep.
🌱 Step 2: Sow Seeds Directly After Last Frost
Wait until soil temperatures reach at least 60°F—cold soil slows germination and can stunt young plants. Scatter seeds ¼ inch deep and 12-18 inches apart in rows spaced 18-24 inches apart. Amaranth seeds are tiny, so I use a seed starter tray to organize them before transplanting if needed.
Lightly cover seeds with soil and water gently with a fine mist—avoid heavy streams that can wash them away. Keep the soil surface moist but not soggy until seedlings emerge in 7-14 days. Thin seedlings to 12 inches apart once they’re 2-3 inches tall, snipping weaker stems at the base to avoid disturbing roots.
☀️ Step 3: Maintain Moisture and Fertility for Lush Growth
Amaranth loves water but hates soggy feet, so water deeply 1-2 times per week, aiming for 1 inch of water total. You’ll know it’s enough when the top 2 inches of soil feel moist—not dripping. Mulch with 2-3 inches of straw or grass clippings to retain moisture and suppress weeds, which compete aggressively with amaranth’s fast growth.
Feed plants with a balanced 10-10-10 fertilizer every 4-6 weeks to encourage both leafy growth and those prized blooms. Stop fertilizing 6 weeks before harvest if growing for edible greens, as excess nitrogen can make stems woody. Watch for powdery mildew on leaves—this signals overcrowding or poor airflow, so thin plants or prune inner stems if needed.
✂️ Step 4: Prune for Bushier Blooms and Pollinator Appeal
Pinch back the top 2-3 inches of new growth when plants reach 12 inches tall to encourage branching and fuller blooms. This step is critical for varieties like ‘Love Lies Bleeding’—without pruning, they grow leggy and sparse. Use clean, sharp scissors to avoid crushing stems, and remove any yellowing or diseased leaves immediately.
Deadhead spent blooms regularly to redirect energy into new flowers. Amaranth’s bright red, orange, or gold blooms attract bees, butterflies, and hummingbirds, so the more you prune, the more pollinators you’ll see. For edible varieties, harvest leaves from the bottom up to keep plants producing new growth.
⏰ Step 5: Harvest Blooms and Seeds at Peak Maturity
Cut flower stems when 70-80% of blooms are open—this ensures maximum vase life and seed production. For seed heads like ‘Black Prince,’ wait until they turn brown and papery before harvesting. Bundle stems and hang them upside down in a dry, well-ventilated area for 2-3 weeks to dry completely.
Rub dried seed heads over a paper bag to collect seeds, then store them in a cool, dark place for up to 2 years. If growing for greens, harvest leaves young and tender—older leaves turn bitter. Amaranth’s rapid growth means you’ll get multiple harvests before the first frost, making it a garden workhorse.
Tips & tricks for perfect amaranth blooms
Between us, amaranth’s fast growth hides a few sneaky secrets—here’s how to turn those 60 days into showstopping blooms.
Sunlight Strategy: The 6-8 hours of sunlight rule is non-negotiable, but here’s the trick: if your garden gets intense afternoon sun, consider planting amaranth near taller plants on the north side. This creates natural shade during peak heat (1-4 PM) that prevents leaf scorch while still giving them full morning light. I’ve seen varieties like ‘Love Lies Bleeding’ develop deeper red hues when protected from midday intensity.
Soil Test Hack: Before amending that 2-3 inches of compost, do this quick test: mix equal parts soil and water in a jar, shake vigorously, then let it settle. If the top layer stays cloudy after 24 hours, your soil drains well. If it stays murky, add more perlite or sand to that 1-2 inch mix. Amaranth’s roots will thank you by growing twice as fast.
Germination Timing: Those 7-14 days to emergence can feel like forever, but here’s how to speed it up: soak seeds in warm water for 4 hours before planting. The tiny seeds need a moisture jumpstart, and this cuts germination time by 3-5 days. Just don’t overdo it—plant immediately after soaking, or they’ll dry out. For varieties like ‘Black Prince’, this makes all the difference in getting that first flush of blooms.
Pruning Precision: When pinching back those top 2-3 inches at 12 inches tall, aim for just above a set of leaves where two stems meet. This creates a natural branching point that produces more stems. I use sterilized scissors (dipped in rubbing alcohol) to avoid spreading powdery mildew, which can appear within 48 hours if you’re not careful. The key is to make clean cuts at 45-degree angles—this prevents water from pooling and causing rot.
Pro Tips for Amaranth Seed Planting
- Between us, amaranth’s fast growth hides a few sneaky secrets—here’s how to turn those 60 days into showstopping blooms.
- Sunlight Strategy: The 6-8 hours of sunlight rule is non-negotiable, but here’s the trick: if your garden gets intens...
- Soil Test Hack: Before amending that 2-3 inches of compost, do this quick test: mix equal parts soil and water in a j...
Frequently asked questions
Got questions about growing amaranth seeds? You’re not alone! Here are answers to the most common curiosities—from planting tips to troubleshooting—so you can grow these vibrant, pollinator-friendly blooms with confidence.
How deep should I plant amaranth seeds?
Amaranth seeds are tiny but mighty—plant them just ½ inch deep in well-draining soil. Lightly cover them and keep the soil moist until germination (usually 7–14 days). Avoid burying them too deep; they need sunlight to sprout efficiently!
When is the best time to plant amaranth seeds?
Amaranth thrives in warm weather, so wait until after the last frost when soil temps are at least 60°F (15°C). For most U.S. regions, this means late spring to early summer. If you’re in a hot climate, you can even plant in early fall for a second harvest!
Are amaranth flowers really pollinator-friendly?
Amaranth’s bright blooms attract bees, butterflies, and hummingbirds like a magnet. Their long-lasting flowers provide nectar and pollen, making them a fantastic addition to pollinator gardens. Plus, the seeds are a bonus food source for birds!
What if my amaranth plants aren’t growing tall?
If your plants seem stunted, check for these common issues:
- Poor soil: Amaranth loves nutrient-rich, well-draining soil. Amend with compost if needed.
- Overcrowding: Thin seedlings to 12–18 inches apart for better airflow and growth.
- Underwatering: Keep soil consistently moist but not soggy—drought stress slows growth.
Can I grow amaranth in containers?
Yes! Dwarf varieties like ‘Love Lies Bleeding’ thrive in 5-gallon containers with drainage holes. Ensure the pot gets 6+ hours of sun daily and use a balanced fertilizer every 3–4 weeks. Just avoid overpotting—root-bound plants grow slower.
Wrapping up and next steps
Planting amaranth seeds is a rewarding way to attract pollinators, boost your garden’s biodiversity, and enjoy vibrant blooms in just 60 days! 🌸 With minimal effort, you’ll create a thriving, wildlife-friendly space that benefits both your garden and local ecosystems.
Now that you’re equipped with the right knowledge, why not start today?
🚀 Next step: Grab your seeds, mark your calendar, and begin planting—your pollinators will thank you! Share your progress or blooms with the gardening community for extra inspiration.