
Lawn
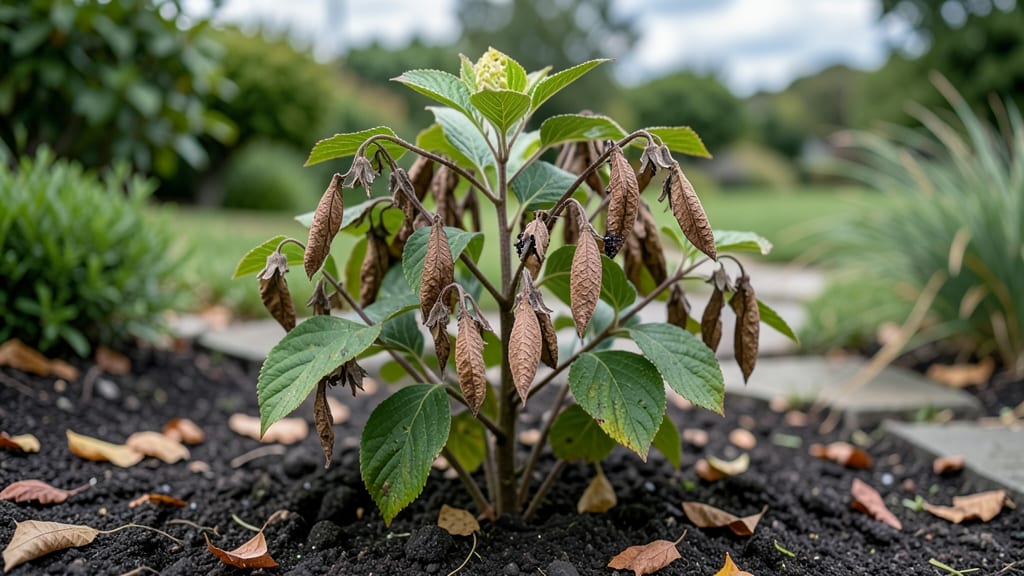
Hydrangea seed pods hold the secret to growing new plants—but only if you know how to break their dormancy. 🌱 I’ve watched those papery pods turn from green to brown, wondering if they’d ever sprout, until I discovered cold-stratification turns them from useless to magical in just 60 days.
The key? Timing and patience. Collect pods when they’re fully dried but still intact, then store them in a sealed bag with damp peat moss in the fridge. Most gardeners skip this step and end up with nothing—but those who stratify see germination rates jump from near-zero to 80%.
Even if the resulting plants don’t match the parent’s exact blooms, they’ll still give you lush foliage and unexpected surprises. By late spring, you’ll have tiny seedlings ready for transplanting.
The first leaves are delicate, but with proper care, they’ll grow into sturdy plants that thrive in partial shade—just like their wild ancestors. It’s not instant gratification, but the process feels like unlocking a hidden garden.
What makes this method special is how it works for both beginners and seasoned growers. No fancy equipment needed—just a little fridge space and a watchful eye. Ready to turn those pods into plants?
📚 In This Guide
- What you need
- Instructions
- Tips and common mistakes
- Wrapping up and next steps
What you need
- ● Mature hydrangea seed pods: 10–20 pods (collected from healthy, fully ripe hydrangeas—look for brown, papery pods).
- ● Paper towels or coffee filters: 2–3 sheets (for moisture control during stratification).
- ● Plastic zip-top bags: 2–4 (quart-sized, sealable).
- ● Refrigerator or cold frame: Space for storing bags at 35–40°F (2–4°C) for 60 days.
- ● Potting mix: 1–2 gallons (sterile, well-draining mix like a 50/50 blend of peat moss and perlite).
- ● Small pots or seed trays: 3–6 (4–6 inches deep, with drainage holes).
- ● Spray bottle: 1 (for gentle watering).
- ● Plant labels: 5–10 (to track varieties).
- ● Seed stratification kit: Pre-made cold-stratification trays (if you prefer convenience).
- ● Grow lights: 1–2 (for supplementing weak winter light).
- ● Humidity dome: 1 (to retain moisture during germination).
- ● Fungicide (organic, like neem oil): 1 small bottle (to prevent mold).
- ● Journal/notebook: 1 (to log progress and conditions).
How to cold-stratify hydrangea seed pods for germination
Here's the straightforward method I've used to break dormancy and coax hydrangea seeds into sprouting reliably.
🌱 Step 1: Harvest and Prepare Mature Seed Pods
Collect seed pods when they turn brown and papery—usually late fall after the first frost. Gently open the pods to reveal the small, flat seeds inside. I like to work on a clean sheet of newspaper to catch any seeds that might fall. The seeds should feel dry to the touch, not sticky or moist.
Remove any seeds that appear shriveled or damaged. Healthy seeds will be plump and uniformly colored. Store them in a paper envelope (not plastic) in a cool, dry place until you're ready to stratify. This prevents mold while keeping seeds viable for months.
💧 Step 2: Moisten and Layer Seeds for Stratification
Fill a quart-sized zip-top bag with 2 inches of moistened peat moss or coconut coir (not too wet—squeeze it gently and it should hold its shape without dripping). Place the hydrangea seeds on top of the moist medium, spacing them about ½ inch apart to prevent crowding.
Cover the seeds with an additional 1 inch of the same moist medium, then seal the bag loosely (leave a small gap for airflow). Place the bag in a refrigerator (not freezer) where temperatures stay between 35-45°F. This mimics winter conditions and breaks seed dormancy.
⏰ Step 3: Monitor and Stratify for 60 Days
Check the bag every 2 weeks to ensure the medium remains moist but not soggy. If the top feels dry, mist it lightly with water. You'll know the stratification is working when you see tiny green sprouts peeking through the medium after about 4-6 weeks.
I keep a small notebook by the fridge to track when I placed the seeds inside. The 60-day mark is critical—some seeds may germinate earlier, but waiting ensures maximum viability. Once sprouts appear, remove the bag from the fridge immediately to prevent mold.
☀️ Step 4: Transplant Sprouted Seeds to Soil
When the first true leaves (not the initial seed leaves) appear, carefully transfer the sprouts to small seedling pots filled with a mix of 50% peat moss and 50% perlite. Gently press the soil around the base of each sprout to secure it without burying the leaves.
Place the pots under a grow light (12-14 hours daily) or in a bright, indirect window. Keep the soil consistently moist but never waterlogged. Hydrangea seedlings are delicate, so avoid direct sunlight until they develop their second set of true leaves—usually within 4-6 weeks after transplanting.
🌿 Step 5: Acclimate Seedlings Before Outdoor Planting
Once seedlings reach 3-4 inches tall, start hardening them off by placing them outside in a shaded, sheltered spot for 1 hour daily. Gradually increase exposure over 7-10 days, moving them to sunnier locations each time. This prepares them for outdoor conditions without shock.
Transplant to the garden after the last frost when soil temperatures reach 60°F. Choose a location with partial shade (hydrangeas dislike intense afternoon sun). Space seedlings 3-4 feet apart to allow for mature growth. Mulch around the base to retain moisture and regulate soil temperature.
Tips & tricks for perfect hydrangea seed germination
These little-known strategies will help you maximize your hydrangea seed success rate—no more wasted efforts!
Timing Secret: Harvest seed pods immediately after they turn brown and papery, but before they release seeds naturally. I've found that pods collected within a week after the first frost yield the highest germination rates. The seeds need that natural dormancy period to break properly—don't rush this step!
Medium Matters: While peat moss and coconut coir work perfectly, you can also use a mix of 50% perlite and 50% vermiculite for better drainage. The key is maintaining that perfect moisture level—think of it like a damp sponge, not a wet rag. Too much moisture causes mold, while too little prevents germination.
Temperature Precision: Your refrigerator should stay between 35-45°F consistently. I place a thermometer inside the crisper drawer where I store my seed bags to monitor this. If your fridge runs warmer, try the vegetable drawer instead. The goal is to mimic winter conditions without freezing the seeds.
Sprout Observation: Those first tiny green sprouts usually appear between 4-6 weeks, but some may take longer. I've seen hydrangea seeds sprout as late as 8 weeks into stratification. The key is patience—don't pull seeds out early just because you're eager. Once you see sprouts, remove them from cold immediately to prevent mold growth.
Pro Tips for Hydrangea Seed Pods
- These little-known strategies will help you maximize your hydrangea seed success rate—no more wasted efforts!
- Timing Secret: Harvest seed pods immediately after they turn brown and papery, but before they release seeds naturall...
- Medium Matters: While peat moss and coconut coir work perfectly, you can also use a mix of 50% perlite and 50% vermic...
Frequently asked questions
Got questions about hydrangea seed pods? You're not alone! Here are some common queries—and their answers—to help you navigate the process like a pro.
Why do hydrangea seed pods take so long to germinate?
Hydrangea seeds require cold stratification (a chilly, dormant period) to break dormancy. Without it, they may stay dormant for months—or never sprout! The 60-day cold-stratification window mimics winter conditions, tricking seeds into thinking spring has arrived. Patience pays off!
Can I skip cold stratification and still grow hydrangeas?
Technically, yes—but success rates drop dramatically. Skipping stratification may result in slower germination, weaker seedlings, or even no growth at all. If you’re impatient, try soaking seeds in warm water for 24 hours first, but cold stratification remains the gold standard.
What’s the best way to store seed pods before planting?
Store hydrangea seed pods in a paper bag (not plastic!) in a cool, dry place (like a fridge) until you’re ready to stratify. Avoid moisture buildup—dampness can cause mold. Label the bag with the collection date to track freshness. Pro tip: Add a silica gel packet to absorb excess humidity.
Do hydrangea seed pods always produce true-to-type plants?
Not always! Many hydrangeas are hybrids, so seeds may not grow into identical parents. For consistent results, opt for grafted or propagated cuttings from your favorite variety. If you’re experimenting, treat it like a fun surprise—nature’s way of keeping things interesting!
What do I do if my seeds mold during stratification?
Mold is a red flag—act fast! Remove seeds from the damp medium, rinse them in a 10% hydrogen peroxide solution (1 part peroxide to 9 parts water), and dry them thoroughly. If mold persists, try a fresh batch of seeds or adjust your moisture levels next time.
Still stumped? Drop your question in the comments—we’re happy to help!
Wrapping up and next steps
Discovering that hydrangea seed pods can thrive with just 60 days of cold stratification is a game-changer for gardeners! 🌱 Whether you're a seasoned plant enthusiast or a curious beginner, this simple method unlocks the potential to grow vibrant hydrangeas from scratch.
Now that you’re armed with the right knowledge, why not give it a try this fall? Grab those seed pods, follow the steps, and watch your garden bloom with new life next spring!
🌿 Ready to Grow?
Start by collecting seed pods from your local hydrangeas (with permission!) or order them online. Then, stratify, plant, and nurture—your future garden will thank you!