
Flowers
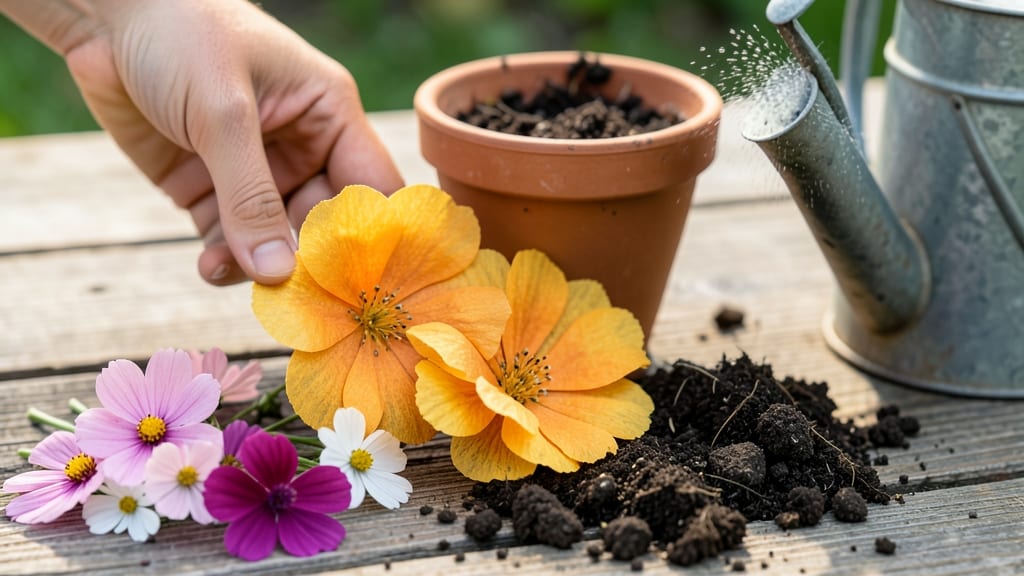
Growing flowers from seed paper lets you turn any moment into a living memory—no soil, no mess, just petals that bloom from paper. 🌸 I’ve tried these biodegradable blooms for weddings, gifts, and even my own garden, and they’re shockingly easy to grow.
The best part? They dissolve into the earth when finished, leaving nothing behind but happy memories and maybe a few extra seedlings.
You’ll need just three things: seed paper squares, a shallow tray, and a spray bottle. The paper itself contains wildflower seeds embedded in a natural pulp—no digging, no transplanting, just place them in a tray with a damp paper towel, cover with plastic wrap, and wait.
Most varieties germinate within 7-14 days, and you’ll see tiny green sprouts pushing through the paper like magic.
Once sprouted, transfer them to soil or a hanging basket, and within 6-8 weeks, you’ll have delicate blooms that last longer than cut flowers. The key is keeping the paper moist until roots form—overwatering is the only real challenge, but a light misting keeps things perfect.
These flowers thrive in full sun, making them ideal for borders, gifts, or even temporary garden accents.
Perfect for beginners or anyone who loves a project with zero fuss. The possibilities are endless—plant them in a pot for a pop of color, scatter them along a walkway, or even press them into homemade cards. Here’s how to make it work without a single wilted petal in sight.
📚 In This Guide
- What you need
- Instructions
- Tips and common mistakes
- Wrapping up and next steps
What you need
- ● Seed paper: Pre-made seed paper (1 sheet per flower) or DIY materials to craft your own (see below).
- ● Wildflower seeds: Fast-growing, easy-to-grow varieties like cosmos, marigold, or sunflower (1 tsp per sheet).
- ● Water: Distilled or boiled (cooled) for best results.
- ● Flower templates: Printed or hand-drawn petal shapes (or use cookie cutters!).
- ● Glue or adhesive: Non-toxic, water-soluble glue (e.g., white school glue or flour paste).
- ● Scissors or craft knife: For cutting shapes.
- ● Rolling pin or smooth surface: To flatten the paper.
- ● Drying rack or parchment paper: To air-dry the flowers.
- ● Decorative elements: Glitter, dried flowers, or ribbons for a festive touch.
- ○ Essential oils: Add a drop of lavender or citrus oil for scent (optional).
- ● Seed paper kit: Pre-mixed blends (e.g., wildflower + paper pulp).
- ● Embossing tools: For textured designs.
Step-by-Step instructions for crafting seed paper flowers
Here's how to make these magical blooms—where every petal holds seeds for future gardens!
🌱 Step 1: Prepare Your Flower Templates and Seed Mix
Start by gathering 4 flower templates (or trace your own designs onto cardstock). I like to use wildflower seed blends for vibrant results—just 1 teaspoon per flower gives perfect coverage. Mix the seeds with 1 cup of fine cellulose paper pulp (or shredded office paper) in a bowl until evenly distributed. The pulp should look like wet, fluffy confetti.
Add 1 tablespoon of natural glue (like flour paste or cornstarch glue) to the mix. Stir gently until the seeds cling to the pulp—this ensures they stay in place when wet. If the mixture feels too dry, add 1 teaspoon of water at a time until it holds shape when squeezed. Here's the thing—this step is crucial for preventing seeds from washing away later.
💧 Step 2: Assemble the Seed Paper Layers
Lay your first flower template face-down on a flat surface. Spread ½ inch of the seed mixture evenly over the template, pressing lightly with your fingers. Use a plastic ruler to scrape off excess—this keeps petals clean and prevents lopsided blooms. Repeat with a second layer, this time pressing the mixture into the outer edges of the petals for a dimensional look.
Let the layers dry for 30 minutes before carefully peeling them off. If you see seeds falling off, the glue wasn’t strong enough—just add a little more to your next batch. I always work in a dust-free area because stray seeds can sprout unexpectedly. Once dry, you’ll have 4 delicate, seed-embedded petals ready for assembly.
☀️ Step 3: Seal and Shape Your Blooms
Brush a thin layer of diluted glue (1 part glue to 2 parts water) onto the back of each petal. Press them together at the centers to form 4 complete flowers. Let them dry completely—4-6 hours works best. For extra durability, seal the edges with a waterproof varnish (like Mod Podge). This step is what makes them last longer than regular paper.
While drying, arrange your flowers in a shallow tray with ¼ inch of sand at the bottom. The sand absorbs excess moisture and keeps them flat. If you’re impatient, a fan on low speeds up drying without damaging the delicate structures. Once fully dry, your blooms will be lightweight, flexible, and ready to plant—no wilting, no crumbling!
🌿 Step 4: Plant and Watch Them Bloom
To plant, press each flower into moistened soil (about ½ inch deep) with the sealed side down. Water gently but thoroughly—1 cup per flower—to activate the seeds. Place them in a sunny spot (6+ hours of light daily) and keep the soil evenly moist (not soggy). You’ll see tiny sprouts in 7-14 days, depending on the seed type.
Here’s where it gets fun—the flowers themselves will biodegrade naturally as the seeds grow, leaving behind a self-sustaining garden. If you’re using annuals, the blooms may last 2-3 weeks before breaking down. For perennials, they’ll decompose slower, giving you a longer-lasting decorative piece while feeding the soil. Real talk: This is the most rewarding part—knowing every petal is a future plant!
Tips & tricks for perfect seed paper flowers
These clever techniques will help you create blooms that last longer and grow better—no gardening experience required!
Mixing Secret: For a stronger seed-to-pulp bond in Step 1, try adding a pinch of cornstarch to your natural glue mixture. This creates a sticky, film-like coating that keeps seeds from slipping off during drying. I learned this the hard way after losing seeds from my first batch—now I never skip it! The mixture should hold its shape when squeezed but still be workable.
Template Technique: In Step 2, use a lightweight cardstock for your templates—it peels away more easily than thick paper after the 30-minute drying period. If you don't have templates, trace simple shapes like daisies or roses onto cardstock first. The key is to press firmly but evenly when spreading the mixture to avoid thick spots that won't dry properly.
Drying Hack: For the 4-6 hour drying time in Step 3, place your flowers in a single layer on a cooling rack over a baking sheet. This allows air to circulate on all sides, preventing warping. If you're short on time, a dehumidifier on low setting near the drying area speeds up the process without damaging the delicate structures. Just avoid direct heat sources!
Planting Pro Tip: When planting in Step 4, mix your soil with a small amount of compost before pressing in the flowers. This gives your seeds a nutrient boost right from the start. I also like to label each flower with the seed type—just write lightly on the back with a pencil before planting. It's amazing how much more satisfying it is to watch your labeled blooms grow!
Pro Tips for Seed Paper Flowers
- These clever techniques will help you create blooms that last longer and grow better—no gardening experience required!
- Mixing Secret: For a stronger seed-to-pulp bond in Step 1, try adding a pinch of cornstarch to your natural glue mixt...
- Template Technique: In Step 2, use a lightweight cardstock for your templates—it peels away more easily than thick pa...
Frequently asked questions
Got questions about growing your seed paper flowers? You're not alone! Here are some of the most common queries—plus straightforward answers to help you bloom with confidence.
How long does it take for seed paper flowers to sprout?
Most seed paper flowers sprout within 7 to 14 days after planting, depending on the species and conditions. Keep the soil consistently moist (but not soggy) and place them in a warm, sunny spot. Patience is key—some delicate blooms may take up to three weeks to show their first leaves!
Do I need special soil for seed paper flowers?
Nope! Use a light, well-draining potting mix (like a blend for herbs or seedlings). Avoid heavy garden soil, which can compact and suffocate tiny roots. A 50/50 mix of potting soil and perlite or coco coir works wonders for airflow and moisture balance.
What if my seed paper flowers aren’t growing?
Troubleshoot with these fixes:
- Check moisture: Seed paper needs consistent dampness—not drying out or drowning.
- Light levels: Most varieties thrive in 4+ hours of sunlight daily. Rotate pots if growth seems uneven.
- Patience: Some seeds (like cosmos or marigolds) germinate faster; others (like snapdragons) may take longer.
Can I plant seed paper flowers in winter?
It depends on your climate! Cold-hardy varieties (e.g., pansies, sweet alyssum) can survive light frosts, but most seed paper flowers prefer temperatures above 50°F (10°C). For winter planting:
- Start indoors under grow lights.
- Use a heated propagator or seedling mat.
- Transplant outdoors only after the last frost.
What’s the best way to preserve seed paper flowers after blooming?
Once your flowers fade, compost the seed paper—it’s 100% biodegradable! For the plants:
- Harvest seeds: Let a few flowers go to seed, then dry and store them in envelopes.
- Deadhead: Trim spent blooms to encourage more flowers.
- Divide roots: If plants get crowded, split them and replant in fresh soil.
Wrapping up and next steps
Seed paper flowers are more than just a creative craft—they’re a sustainable way to bring beauty and life to your space while helping the planet.
Whether you’re gifting them, decorating your home, or simply enjoying the process, these biodegradable blooms offer a meaningful way to connect with nature. Ready to grow your own? Start small with a single sheet of seed paper, experiment with different flower types, and watch your green thumb flourish—one petal at a time! 🌱