
Lawn
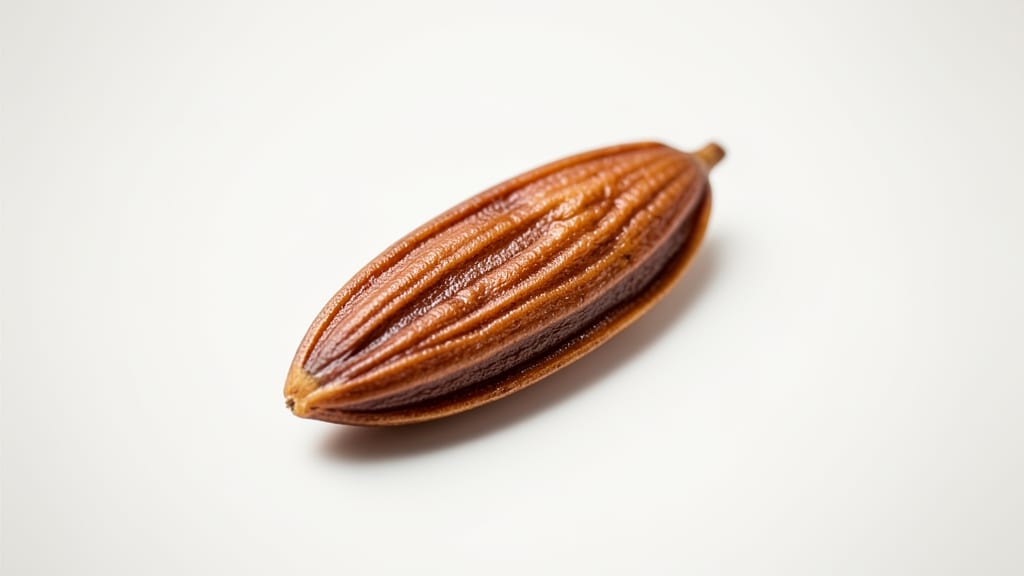
Hold that apple seed in hand—your future tree is already inside. 🌱 The journey from seed to sapling might take years, but starting with fresh seeds from your favorite apple means you're growing something uniquely yours, even if it won't fruit for a decade or more.
The real magic happens in the waiting, watching, and learning along the way.
First, you'll need just three things: patience, a cool spot (like your fridge), and a pot with good drainage. The secret weapon here is stratification—mimicking winter's cold spell to break the seed's dormancy.
After 6-8 weeks in the fridge, those seeds will wake up ready to grow, and you'll see tiny sprouts within weeks of planting.
By spring, you'll have a tiny seedling that needs bright light and occasional watering—never soggy soil. The first few leaves might look strange (they're called "cotyledons"), but don't worry; true apple leaves will follow.
This is where the fun begins, watching your seedling grow into a sturdy sapling over the next few years.
Fair warning: apple trees from seed are a gamble—they might not even produce fruit, or it could take 10-15 years to see apples. But that's part of the adventure.
What you will get is a tree with its own unique character, and the satisfaction of growing something from scratch. Here's how to start right.
📚 In This Guide
- What you need
- Instructions
- Tips and common mistakes
- Wrapping up and next steps
What you need
- ● Apple seeds: 3–5 fresh, organic seeds (avoid store-bought apples treated with chemicals). Pro tip: Rinse seeds thoroughly to remove any residue! 💡
- ○ Paper towels: 2–3 sheets (unbleached, seed-free). Optional: Use a damp paper towel for easier moisture control.
- ● Plastic bag or airtight container: A resealable bag (quart-sized) or a small Tupperware with ventilation holes (poke 2–3 tiny holes with a needle).
- ● Spray bottle: 4–8 oz with water (room temperature). Alternative: A damp cloth for occasional misting.
- ● Small pots or seedling trays: 3–5 (3–4 inches deep) with drainage holes. Budget tip: Repurpose yogurt cups with holes punched in the bottom!
- ● Potting soil: 1–2 bags of seed-starting mix (sterile, peat-based, or coconut coir blend). Avoid garden soil—it’s too dense!
- ● Grow lights or sunny windowsill: A LED grow light (12–15 watts) or a south-facing window (6+ hours of sunlight daily).
- ● Labels & markers: 5–10 (to track seedling progress). Fun idea: Use popsicle sticks for a rustic touch!
- ● Humidity dome: A clear plastic lid or DIY cover to retain moisture during early stages.
- ○ Heating mat: (Optional) A seedling heat mat (50–75°F range) to speed up germination.
- ● Fertilizer: A balanced liquid fertilizer (5-5-5 or 10-10-10) for later growth stages.
- ● Notebook: To log germination dates, soil conditions, and growth milestones.
- ● Tweezers: For delicate seedling transfers (gentle hands required!).
Instructions: how to germinate apple seeds without the stress
Here’s the simple, foolproof way I’ve used to coax apple seeds into seedlings—no fancy equipment, just patience and a few key tricks.
🌱 Step 1: Prepare Seeds for Faster Germination
Start by cleaning your apple seeds—scrub off any fruit residue with water, then let them dry completely for a day. This prevents mold and rot later. I like to soak them in a bowl of lukewarm water for 24 hours first. The skin softens, and the seed absorbs moisture, which kickstarts the germination process.
After soaking, place the seeds between two damp paper towels. Fold the towels so the seeds are snug but not crushed, then roll them up and tuck them into a plastic bag. Seal it loosely—you want airflow, not a sealed container. Store the bag in a warm spot, like on top of your fridge or near a sunny window. Check daily for moisture; if the towels feel dry, mist them lightly with water.
💧 Step 2: Wait for Sprouts to Appear
Germination can take anywhere from 10 days to 3 weeks, depending on the apple variety and your home’s warmth. You’ll know it’s working when you see a tiny white root—called a radicle—emerging from the seed. This is your signal to act fast. Once you spot the root, carefully transfer the seed (still wrapped in the damp towel) to a small container with moist potting mix.
Dig a shallow hole—about ½ inch deep—and place the seed root-down. Gently cover it with soil, patting lightly so it stays in place. Don’t water yet; the towel still holds enough moisture. Place the container in a spot with indirect light, like a windowsill away from direct sun. Overwatering now will drown the delicate sprout before it even breaks the surface.
☀️ Step 3: Provide Gentle Light and Protection
Once the seedling’s first true leaves appear—those are the second set after the initial cotyledons—move it to a bright, indirect light spot. A south-facing window works well, but avoid harsh afternoon sun, which can scorch tender leaves. If your home is dim, supplement with a grow light for 12-14 hours daily.
Keep the soil consistently moist but not soggy. Stick your finger in the mix—if the top inch feels dry, water gently until it’s damp. You’ll notice the seedling’s stem thicken and leaves darken as it grows stronger. This is when it’s ready for its first true test: a little fresh air. Open a window nearby for 10-15 minutes daily to harden it off, but avoid drafts.
🪴 Step 4: Transplant to a Permanent Home
When the seedling reaches about 4-6 inches tall and has a sturdy stem, it’s time to move it to a 5-inch pot with fresh potting mix. Dig a hole just deep enough to hold the root ball, then place the seedling in and firm the soil around it. Water thoroughly until it drains from the bottom.
Apple seedlings grow slowly at first, so don’t rush them. Keep the pot in a sheltered spot outdoors for a few hours daily as temperatures warm, gradually increasing exposure. By late spring, when nighttime temps stay above 50°F, you can plant it in the ground. Choose a spot with full sun and well-draining soil—apples hate soggy roots.
Tips & tricks for stress-free apple seed germination
These simple tricks will help you avoid common pitfalls and give your apple seeds the best possible start.
Soaking Secret: The 24-hour soak in lukewarm water isn't just about softening the seed—it's also about breaking the seed's natural dormancy. I like to use filtered water for soaking since tap water can sometimes contain chlorine that might inhibit early root growth. After soaking, give the seeds a quick rinse before placing them between the paper towels to remove any residue that could attract mold.
Temperature Matters: While instructions mention warm spots like on top of your fridge, I've found that placing the seed bag near a sunny window during the day (but moving it to a warmer spot at night) can actually speed up germination by maintaining consistent warmth. Aim for a spot that stays around 70-75°F during the day—this is ideal for breaking dormancy and encouraging root growth within that 10-day to 3-week window.
Transplant Timing: The moment you see that tiny white radicle emerge is critical—don't wait! Transferring too late can cause the delicate root to dry out or get tangled. I like to keep a small spray bottle nearby to mist the soil after transplanting, which helps maintain moisture while the seedling adjusts to its new environment. The ½-inch depth is perfect—any deeper and the seedling might struggle to push through the soil.
Light Strategy: When moving to bright indirect light in Step 3, I recommend positioning the seedling about 6-12 inches from the window. This distance prevents the leaves from getting sunburned while still providing enough light for photosynthesis. If you notice the leaves turning pale or stretching toward the light (a condition called etiolation), it's getting too little light—time to move it closer or add that grow light for those 12-14 hours daily.
Pro Tips for Apple Seed In Hand
- These simple tricks will help you avoid common pitfalls and give your apple seeds the best possible start.
- Soaking Secret: The 24-hour soak in lukewarm water isn't just about softening the seed—it's also about breaking the seed's natural dormancy.
- Aim for a spot that stays around 70-75°F during the day—this is ideal for breaking dormancy and encouraging root growth within that 10-day to 3-week window.
Frequently asked questions
Got questions about growing apple seeds? You’re not alone! Here are answers to the most common queries—so you can dive into your apple seed in hand project with confidence.
How long does it take for an apple seed to sprout?
Apple seeds typically sprout in 4–8 weeks, depending on temperature, moisture, and seed viability. Keep the soil consistently moist (not soggy) and maintain warmth (around 65–75°F). Patience is key—some seeds may take longer, especially if they’re stored for a while.
Can I plant apple seeds straight from a store-bought apple?
Yes! Just clean, dry, and chill the seeds first. Store-bought apples are fine, but avoid seeds from hybrid varieties (like Gala or Fuji)—they may not grow true to the parent fruit. For best results, stratify seeds in the fridge for 4–6 weeks before planting.
What’s the best soil mix for germinating apple seeds?
Use a light, well-draining mix like:
- 50% potting soil
- 30% perlite or sand
- 20% coconut coir or peat moss
Why did my apple seed not sprout? Troubleshooting tips
Common culprits:
- Dormancy: Apple seeds need cold stratification (fake winter!). Try chilling them in a damp paper towel in the fridge for 6+ weeks.
- Overwatering: Soggy soil = rot. Let the top inch dry between waterings.
- Poor viability: Some seeds (especially from hybrid apples) may not germinate. Try 5–10 seeds for better odds!
- Temperature issues: Keep seeds in a warm spot (not direct sunlight) until sprouts appear.
Will my homegrown apple tree produce fruit like the parent?
Probably not! Apple trees grown from seeds are unpredictable—they may take 5–10 years to fruit (if they do at all) and likely won’t match the original apple’s taste or size. For reliable fruit, grafting or buying a nursery tree is better.
Still stumped? Drop your question in the comments—we’re happy to help you turn that apple seed in hand into a thriving sapling!
Wrapping up and next steps
You’ve got this! 🌱 Growing apple seeds is simpler than you think—just a little patience, the right tools, and a dash of curiosity. Whether you’re aiming for a tiny sapling or a future orchard, every seed holds potential.
Now that you’re armed with knowledge and confidence, why not take the next step?
Start small: plant one seed today and watch the magic unfold. Share your progress, troubleshoot together, or even gift a sapling to a fellow green thumb. The journey from seed to tree is yours to nurture—let’s grow something great, one seed at a time!